They were a series of steam-propelled submarines built for the Royal Navy during World War I. However, they were notorious for being plagued with design flaws and accidents.
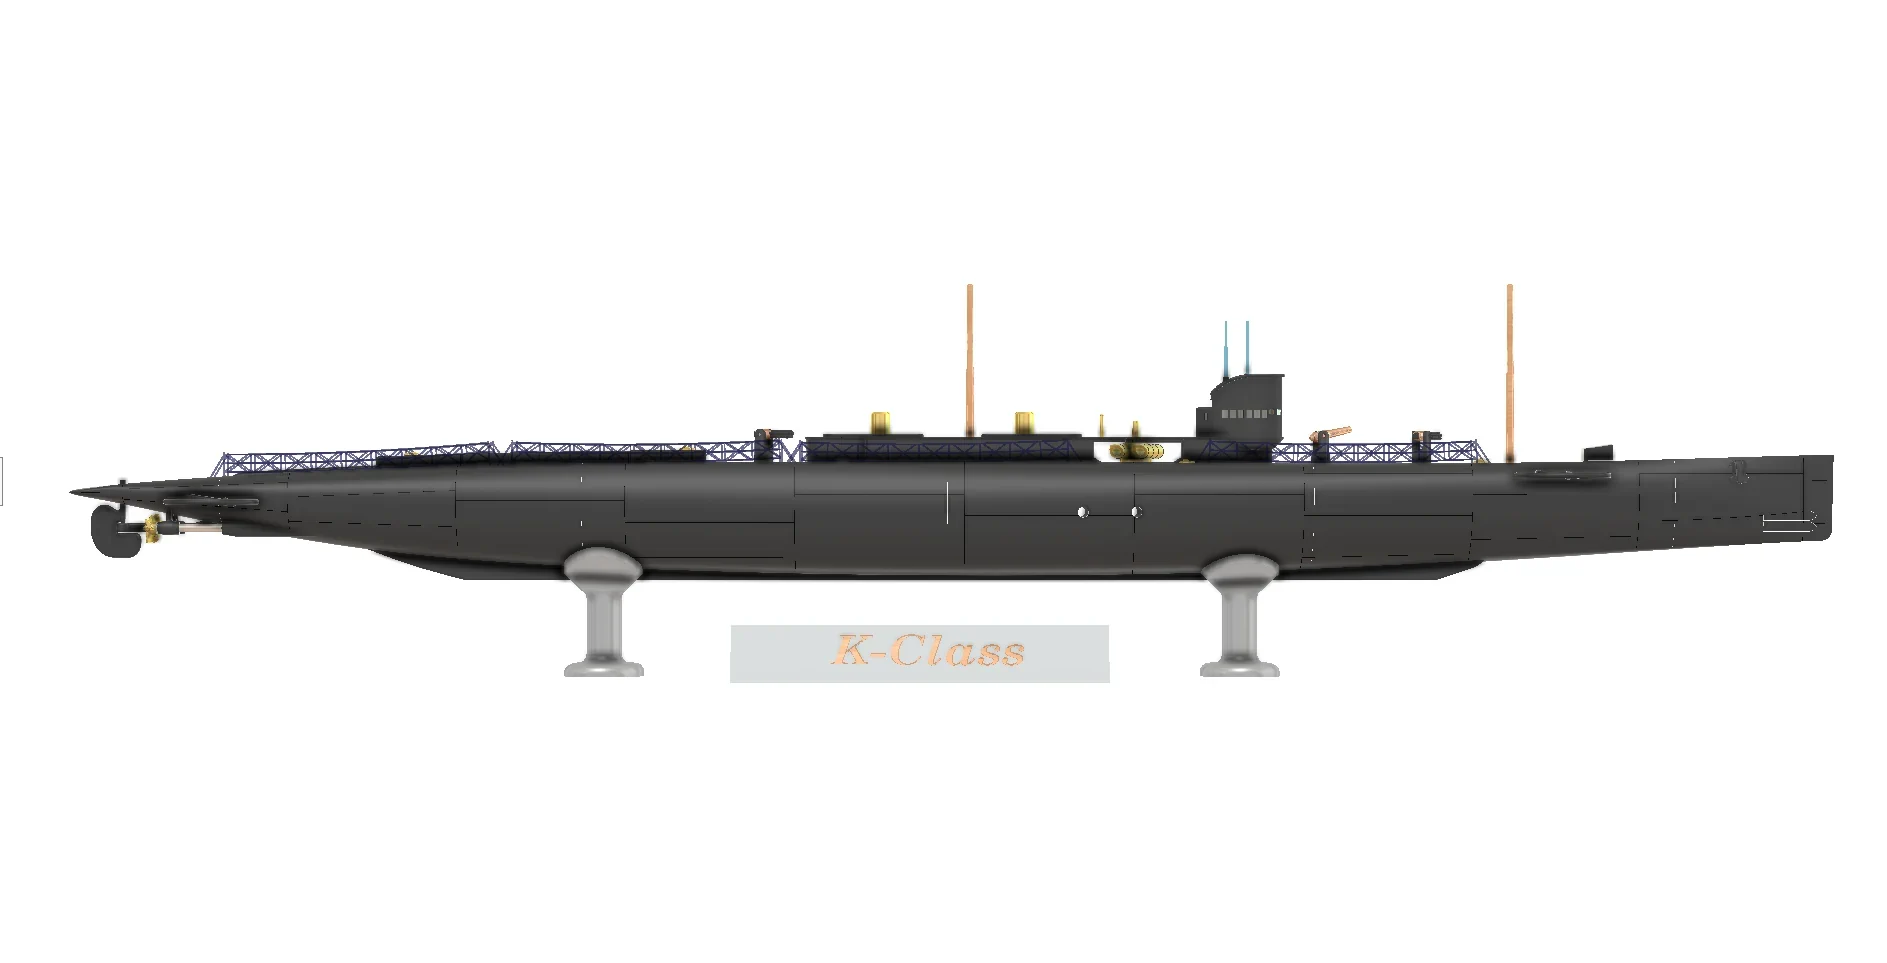
These submarines were much larger than their predecessors, with the intention of carrying a significant number of torpedoes and having longer endurance. However, they were beset with issues such as instability, poor handling characteristics, and mechanical failures. The most infamous incident involving the K-class submarines was the Battle of May Island in 1918, where a collision during a night exercise led to the loss of two submarines and 104 crew members.
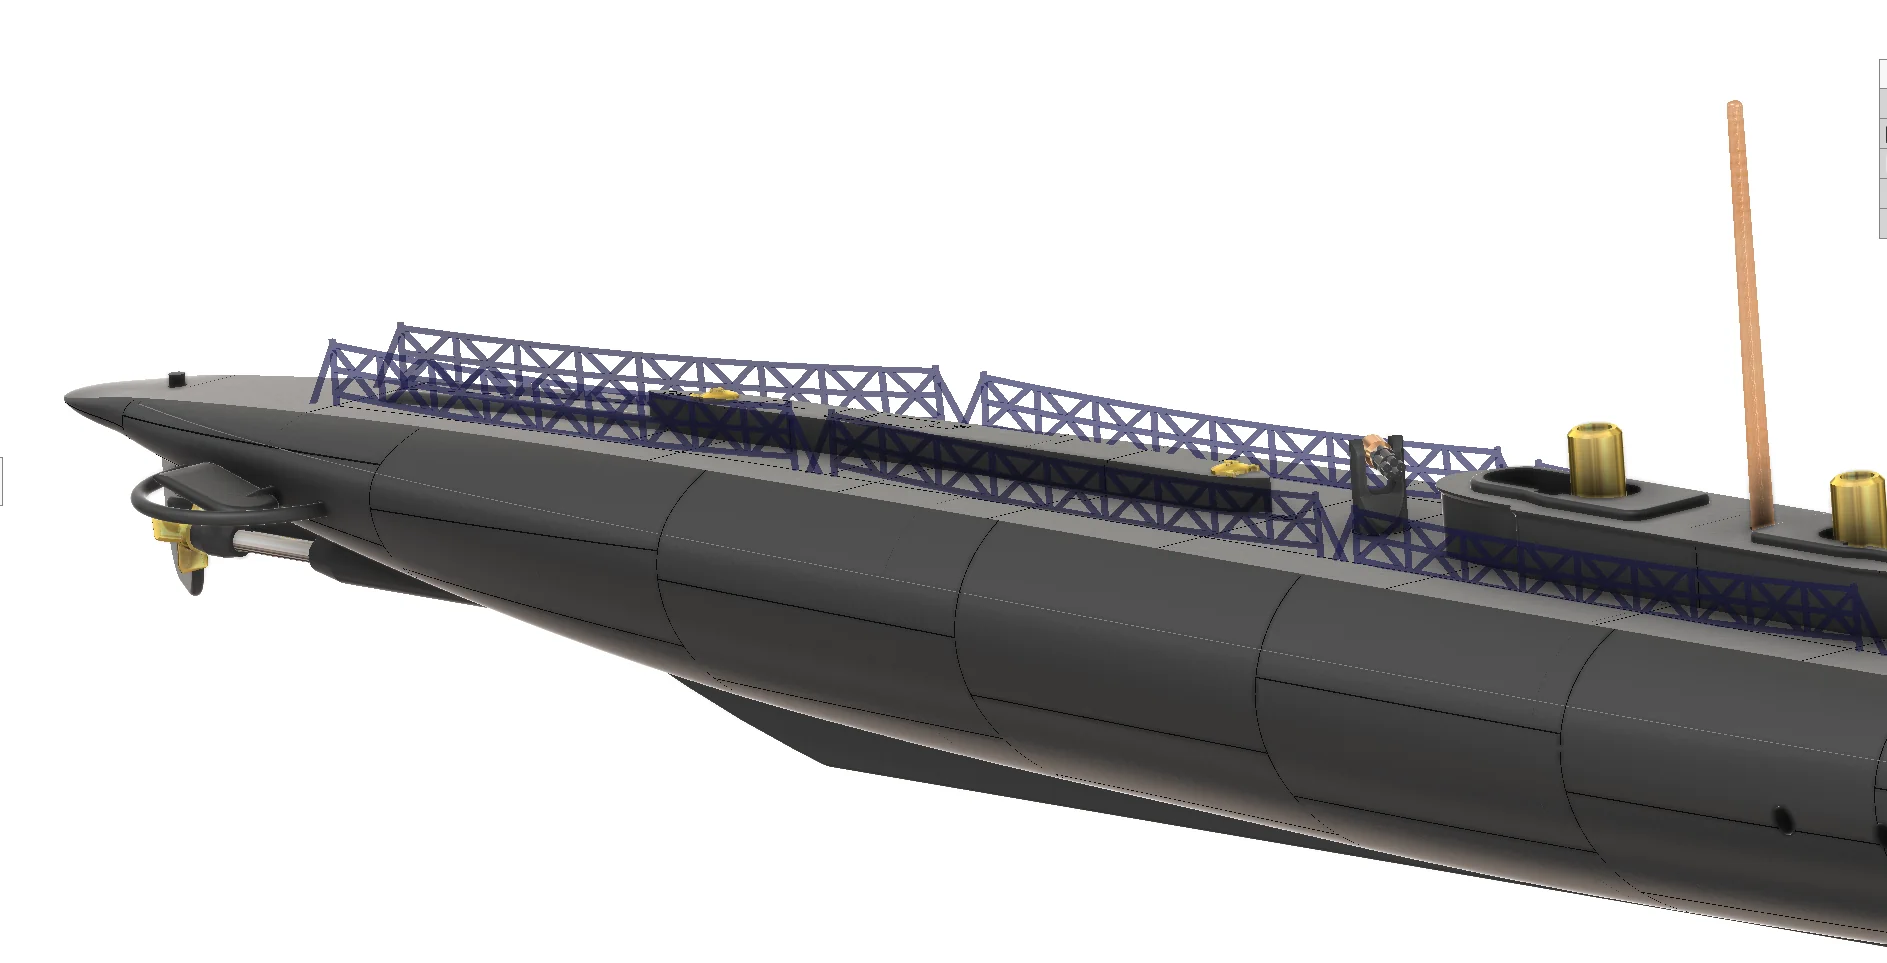
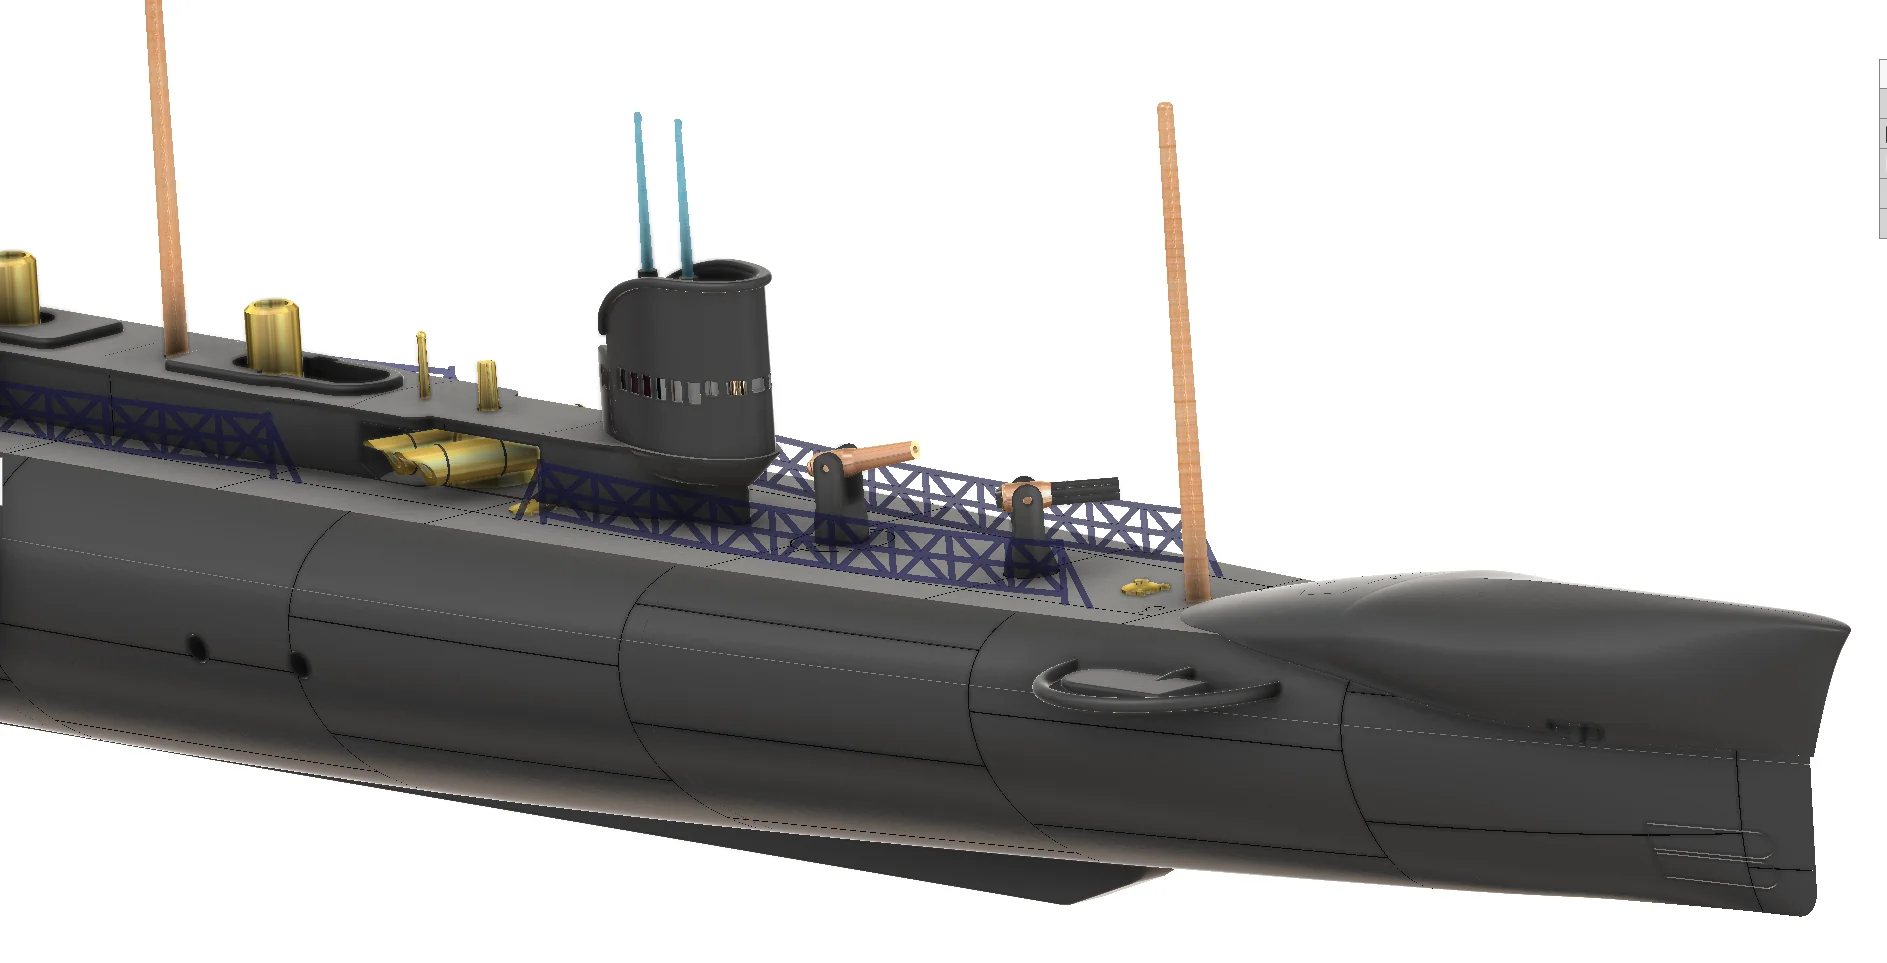
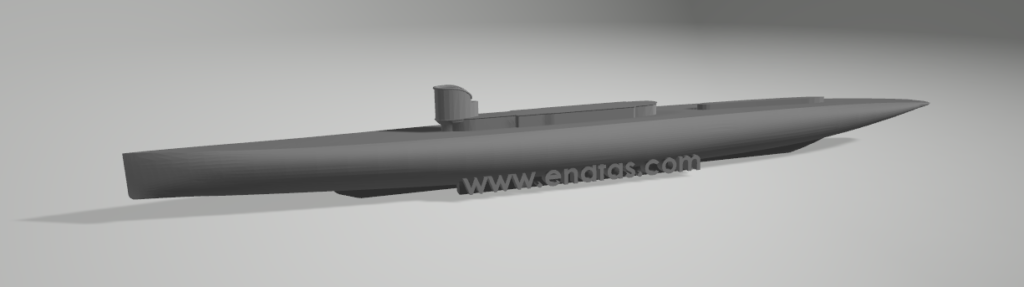
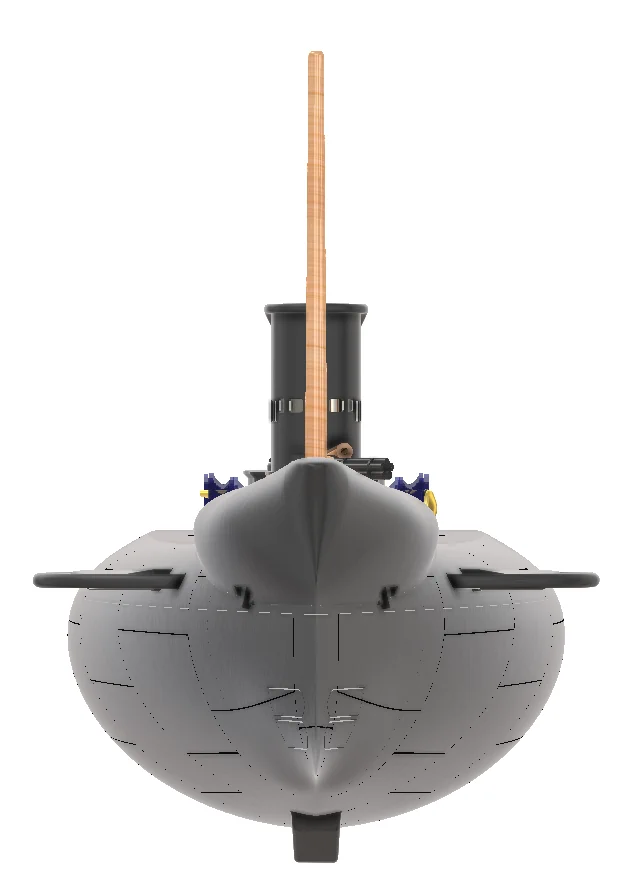
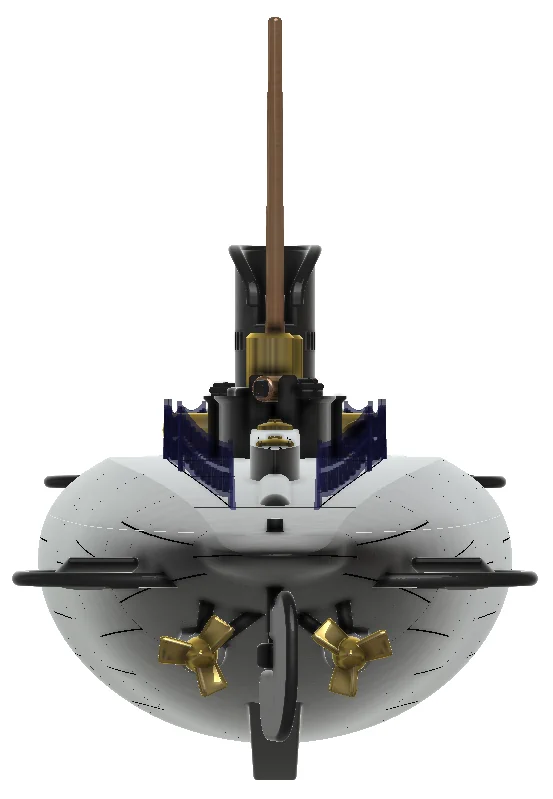
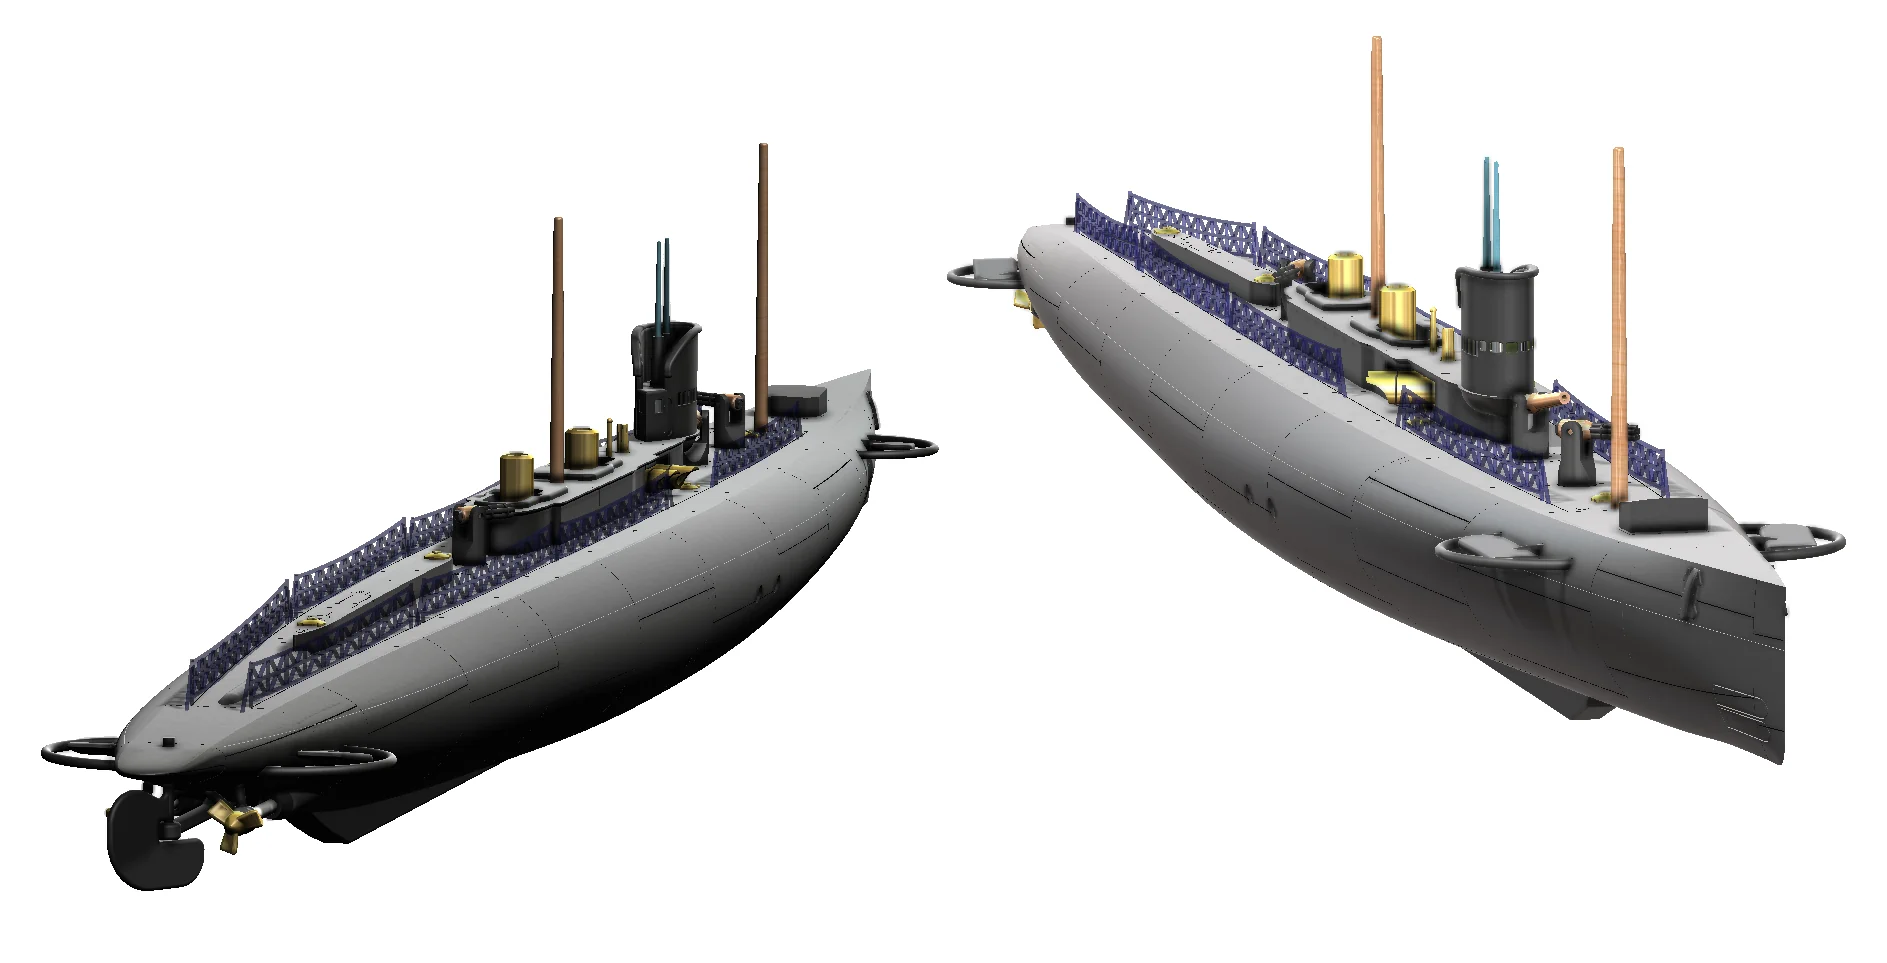
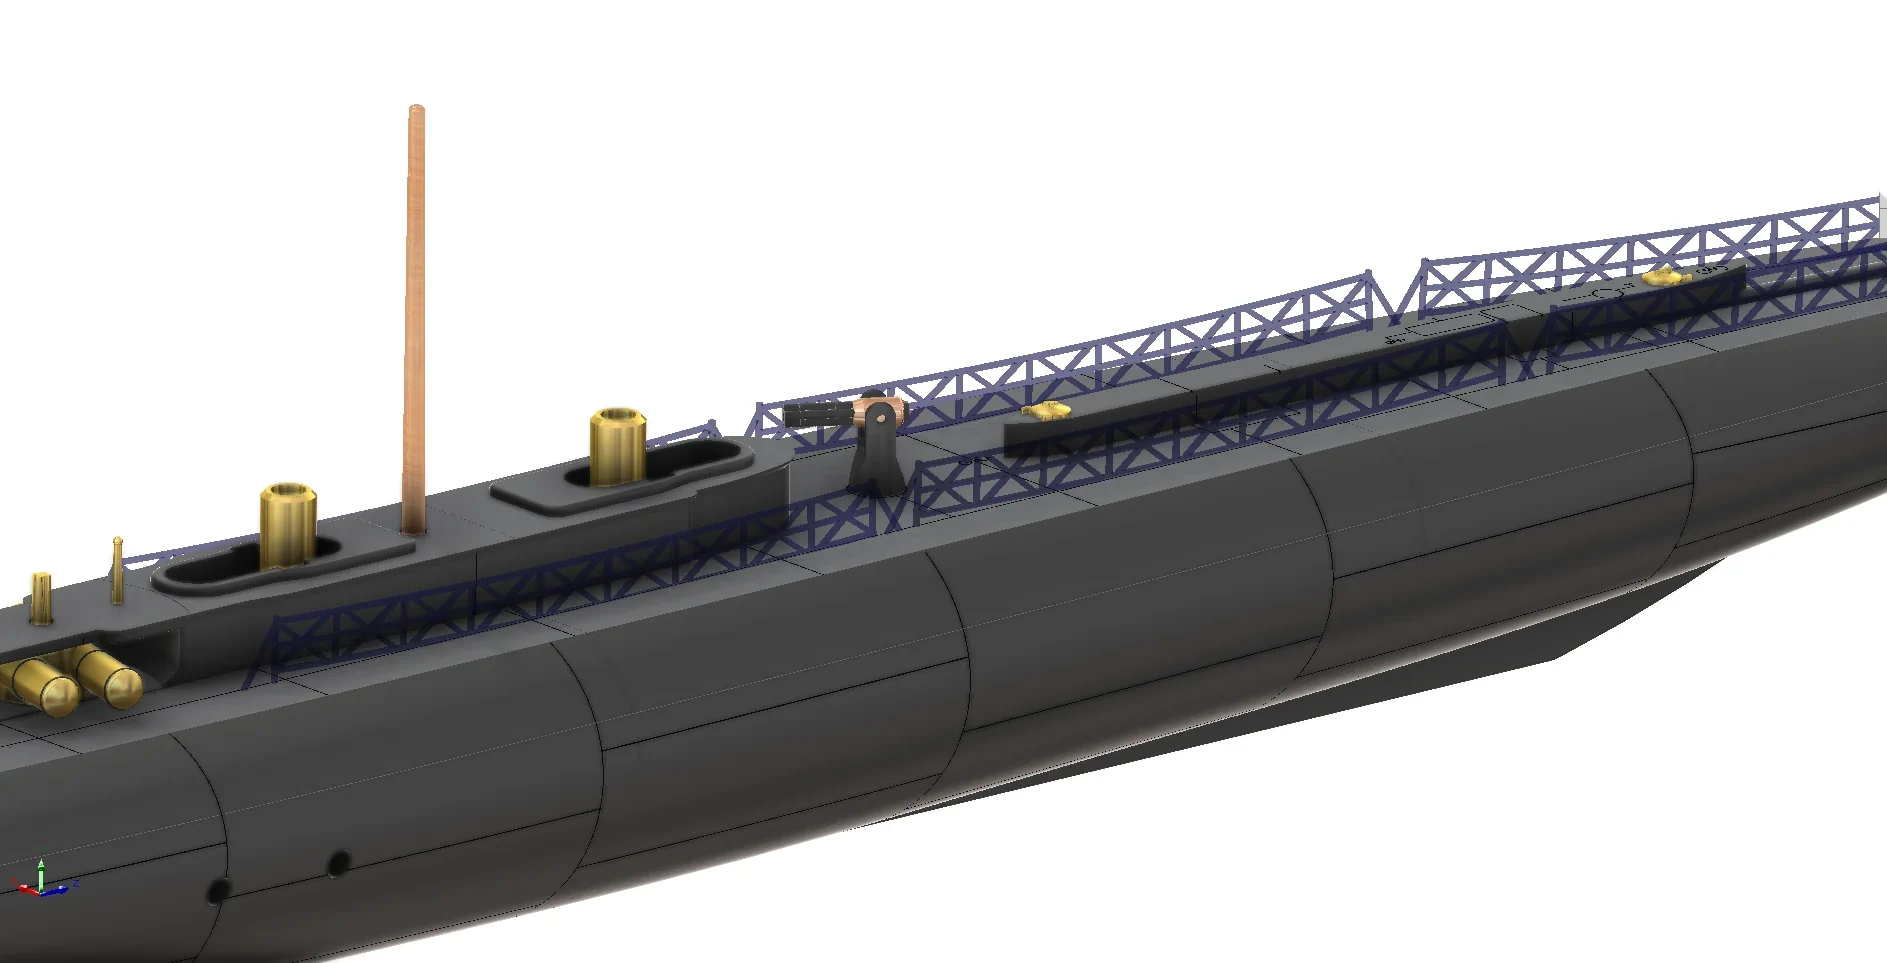
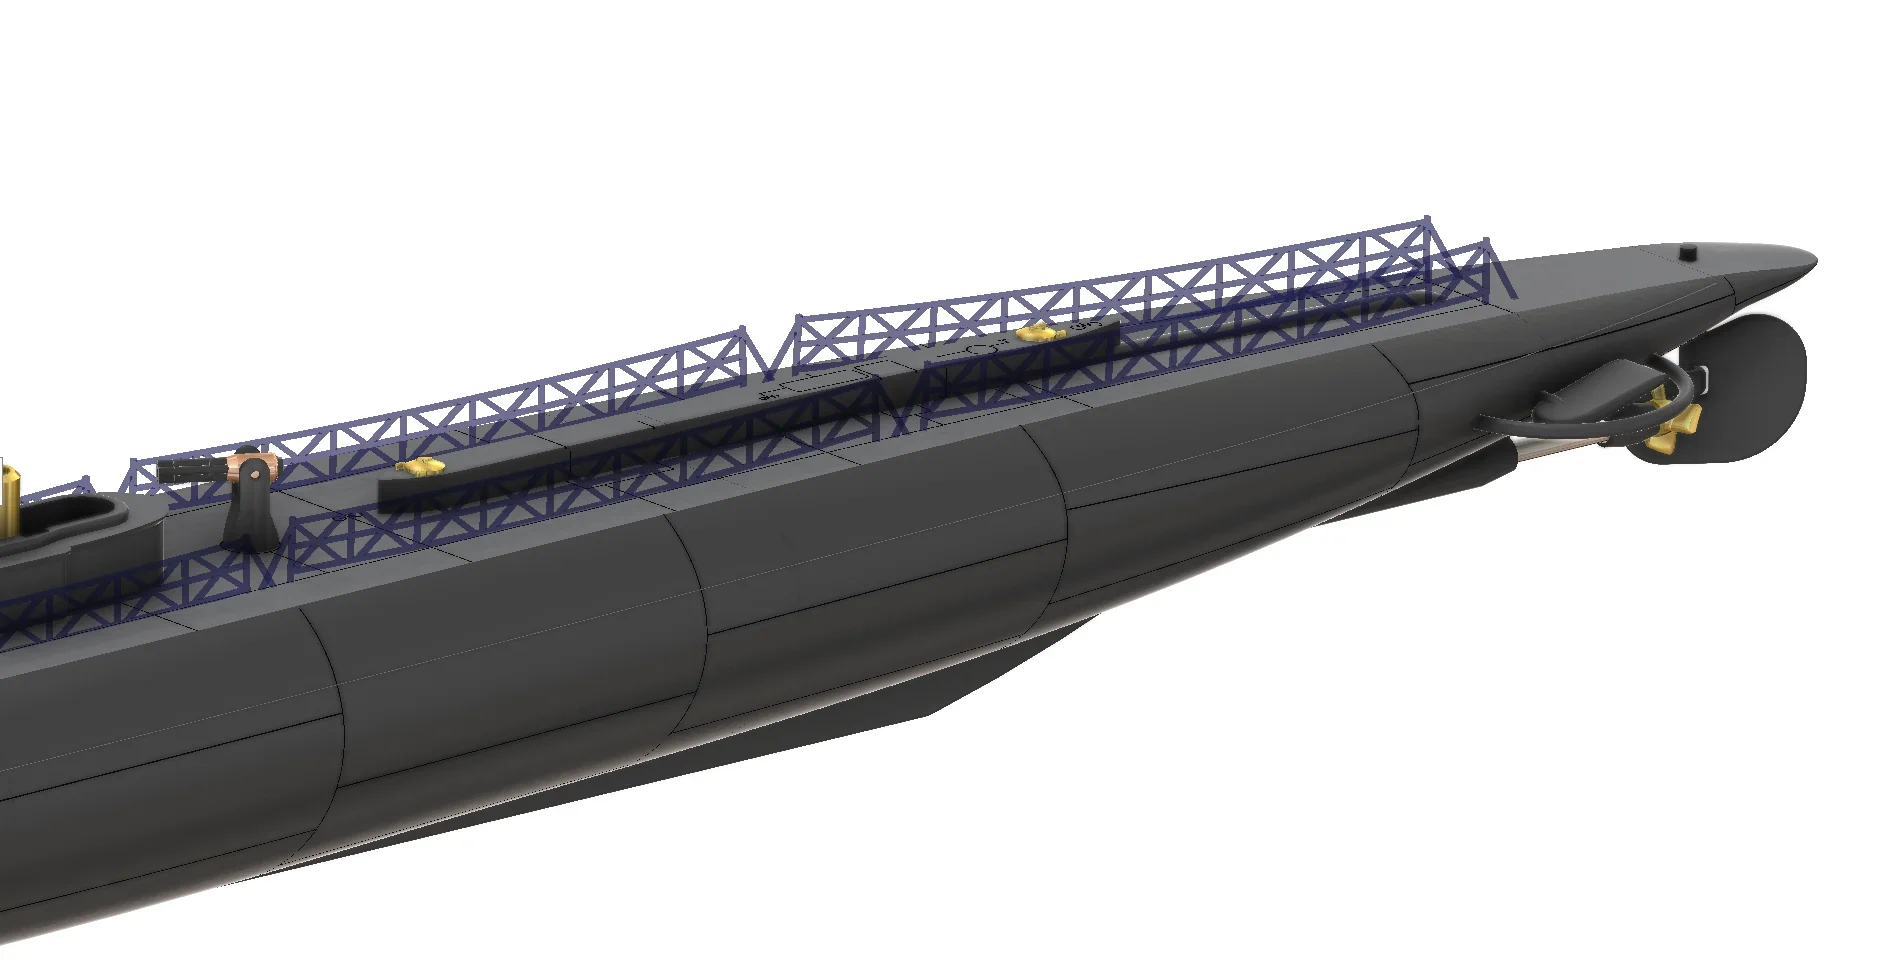
Continue reading for more info and renderings. Your free hi-rez STL file for our K-Class model is at the end of the article. You can get our multi-part 30+mb file pack from here.
All images are click-enlargeable.
Despite their troubled history, some K-class submarines were modified and saw service in World War II. However, they were eventually retired from service due to their outdated design and numerous problems.
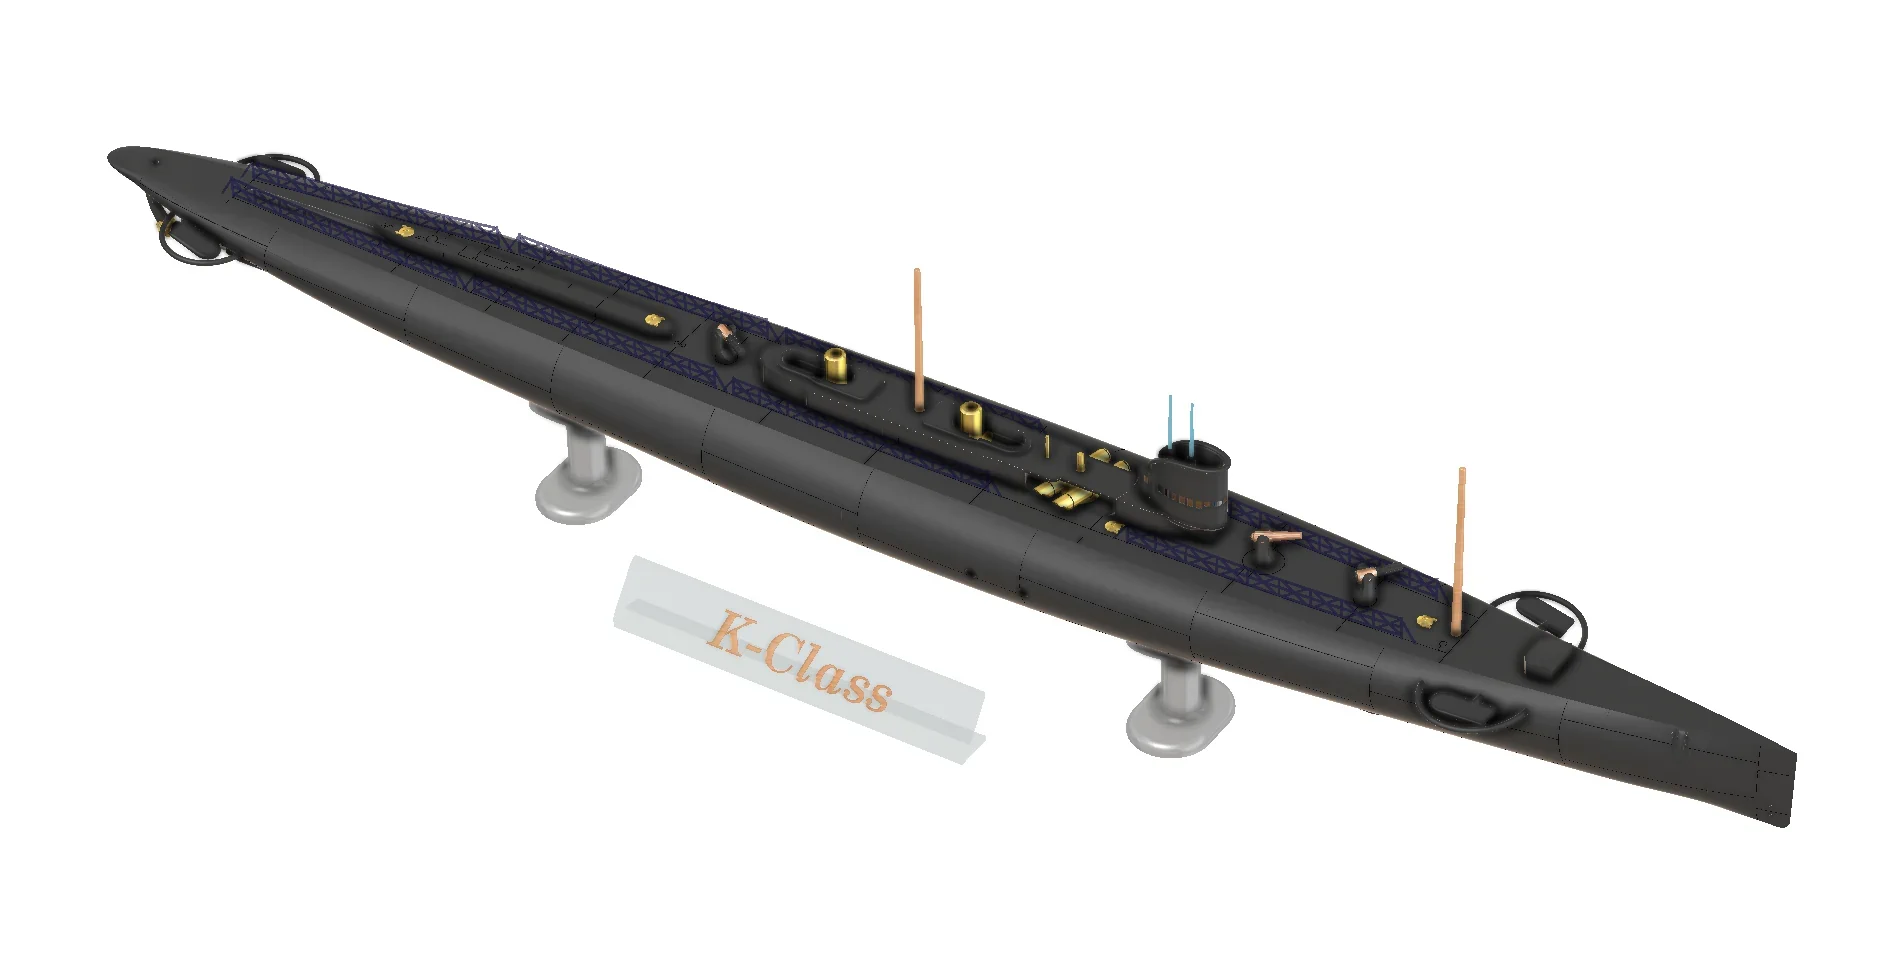
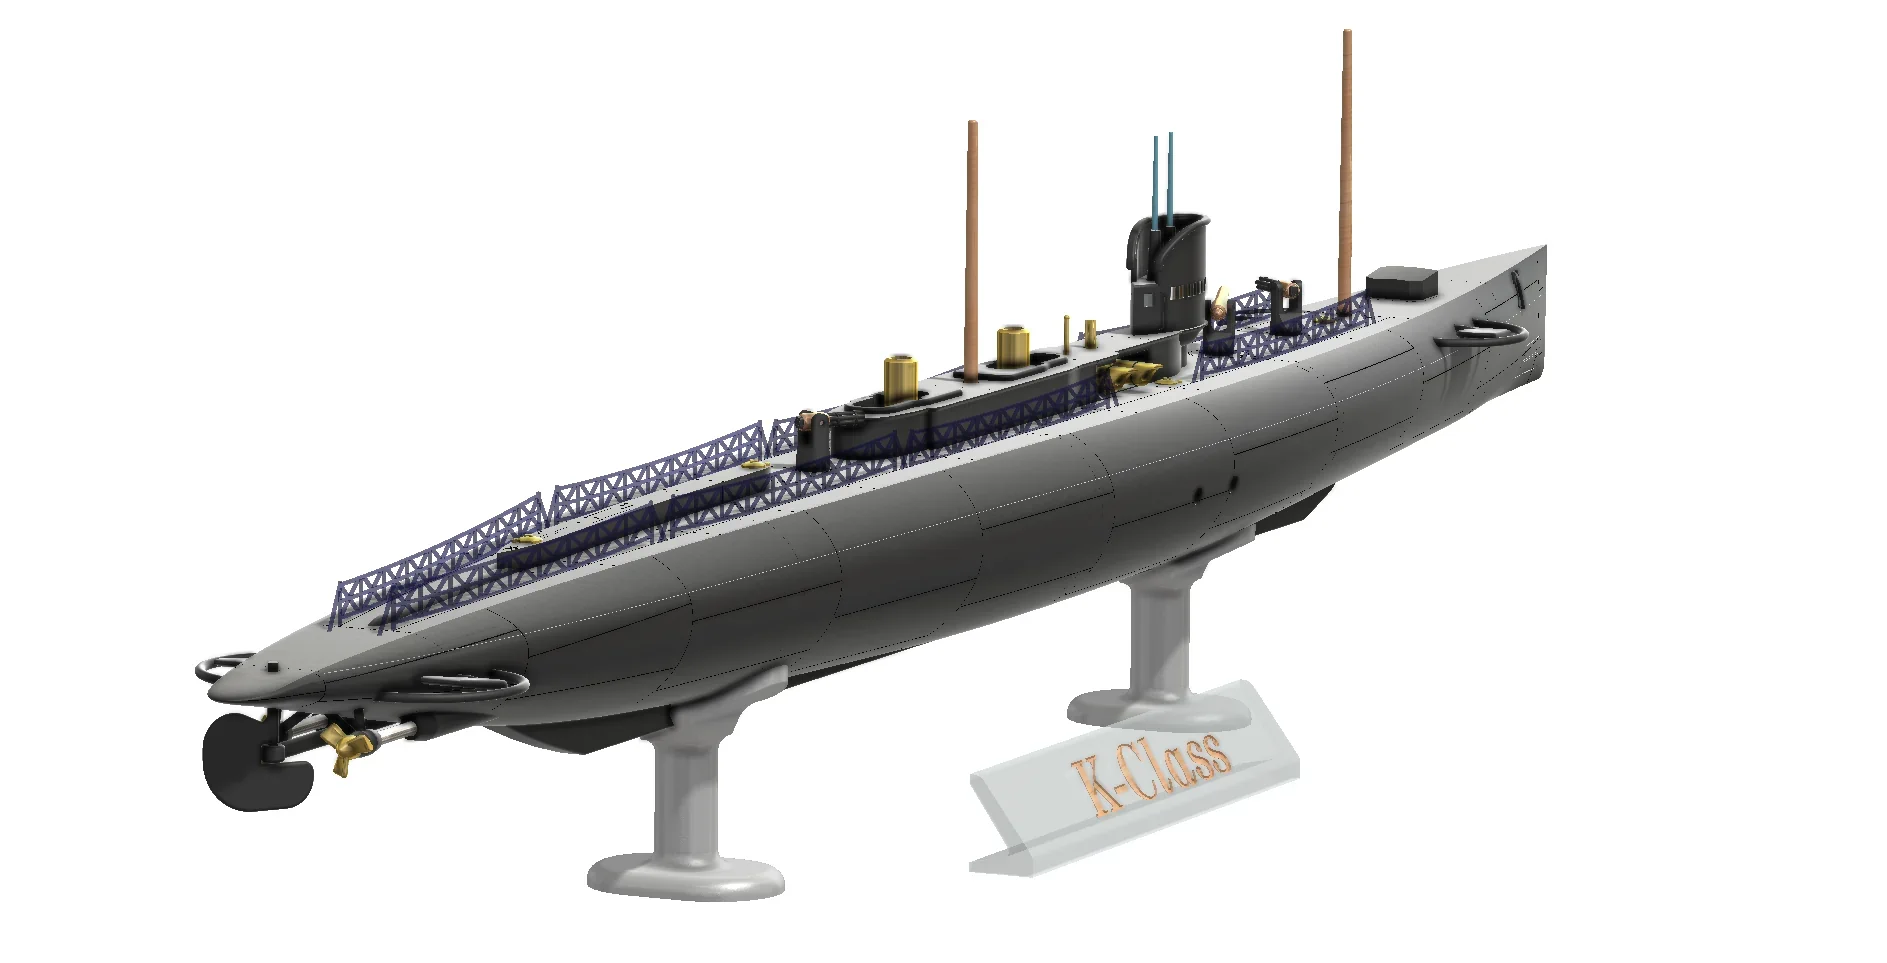

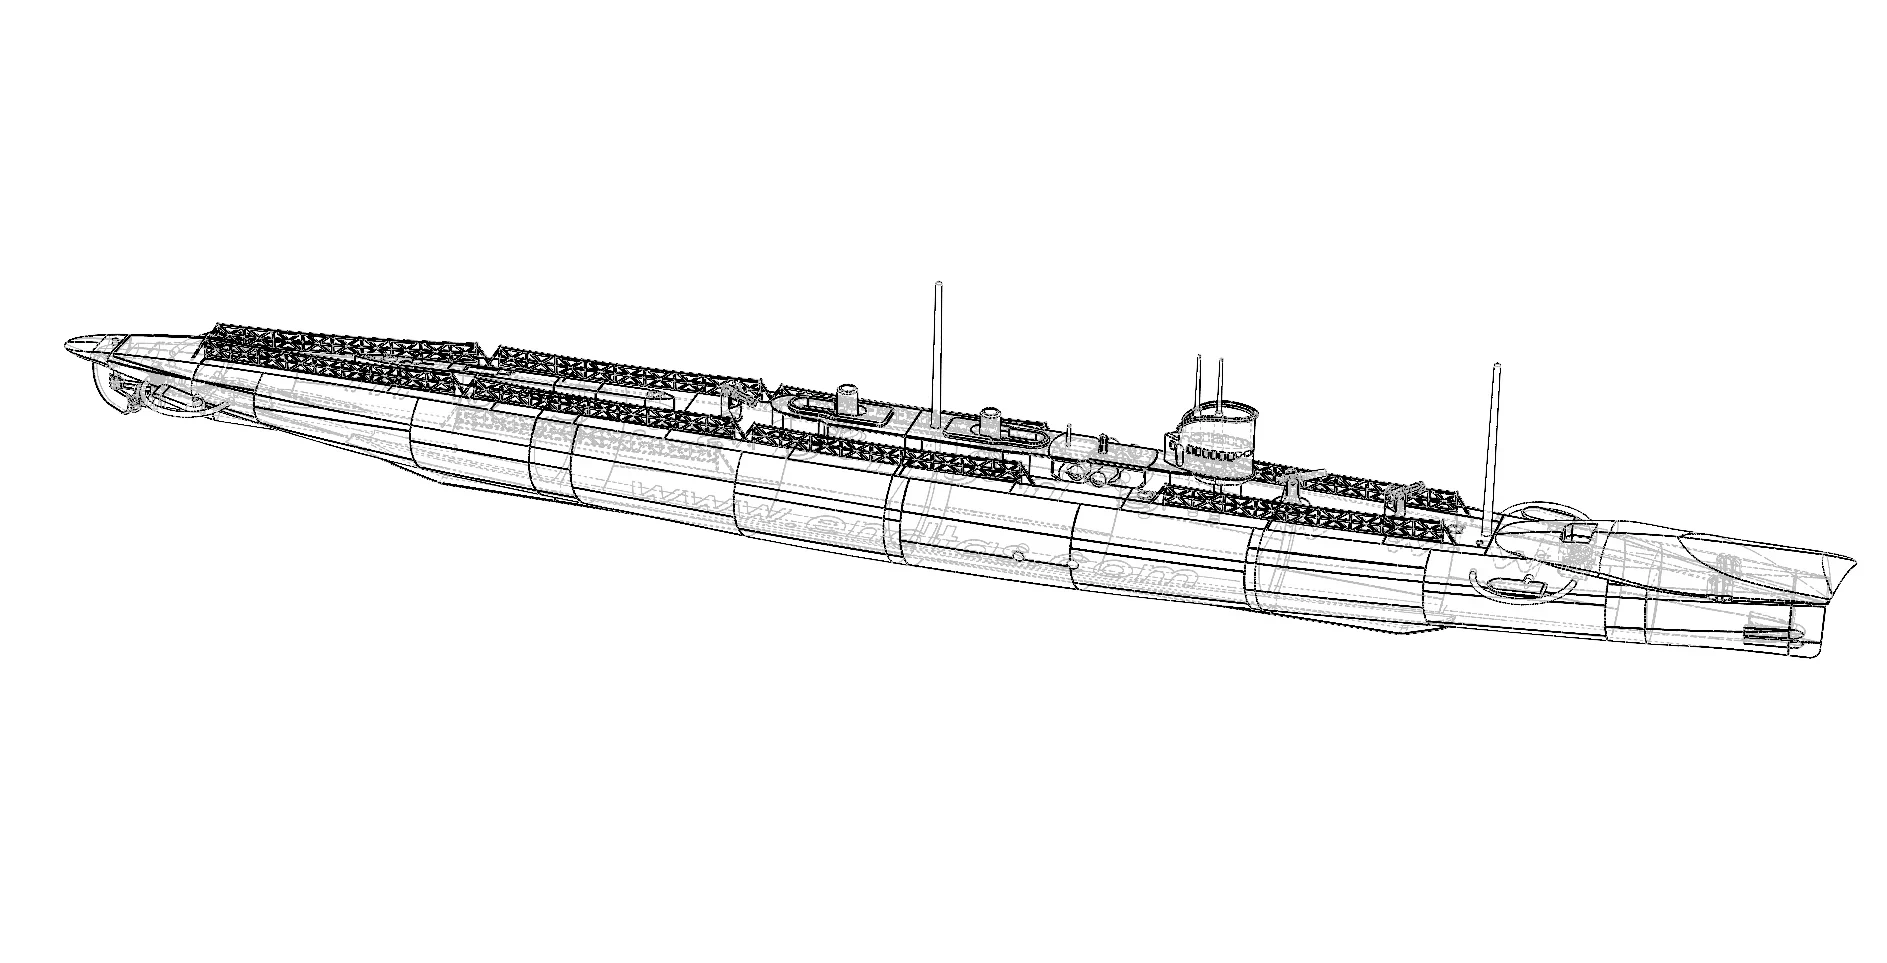
We have a multi-part STL file packet for enabling you to build a 1 meter long much nicer K-Class. You can get our multi-part 30+mb file pack from here. The ways of creating a well finished, nice looking 3d printed submarine are listed below. Enjoy.
- Arrange Parts for Printing: Using slicing software, arrange the parts on the print bed. Consider factors like minimizing supports, maximizing print bed usage, and ensuring each part is oriented optimally for printing.
- Print Each Part: Start printing each part one by one. Use the appropriate printing settings for your printer and filament material. Monitor the printing process to catch any issues early on.
- Post-Processing: Once all parts are printed, remove them from the print bed and clean off any support structures or excess material. Depending on the material used, you may also need to perform additional post-processing steps like sanding or smoothing.
- Assemble the Parts: Carefully assemble the printed parts according to your 3D model. Depending on the design, this might involve using glue, screws, or other fasteners to join the parts together.
- Final Touches: After assembly, inspect the final product for any defects or imperfections. Make any necessary touch-ups or adjustments to ensure the parts fit together properly.
- Finishing: Optionally, you can apply additional finishing techniques such as painting or coating to enhance the appearance and durability of the printed model.
By following these steps, you can effectively 3D print a multi-part model while ensuring each part is printed accurately and assembled seamlessly.
Your free single piece STL file is here.