
As we all know, 3D printed parts produced by our ordinary home type printers are not so strong and when used in place of actual parts, they don’t last long. I thought it would be great If it is possible to somehow strengthen the 3d printed parts and worked on the subject a bit.
Strengthening a 3d part may give us the ability to use those parts in place of actual working, load bearing parts. So instead of trying to find an original replacement part for a broken one of our gadgets, robots, vehicles, mechanical toys or in any mechanical tech project we develop, we can simply go with the 3d printed parts.
Click read more to continue.

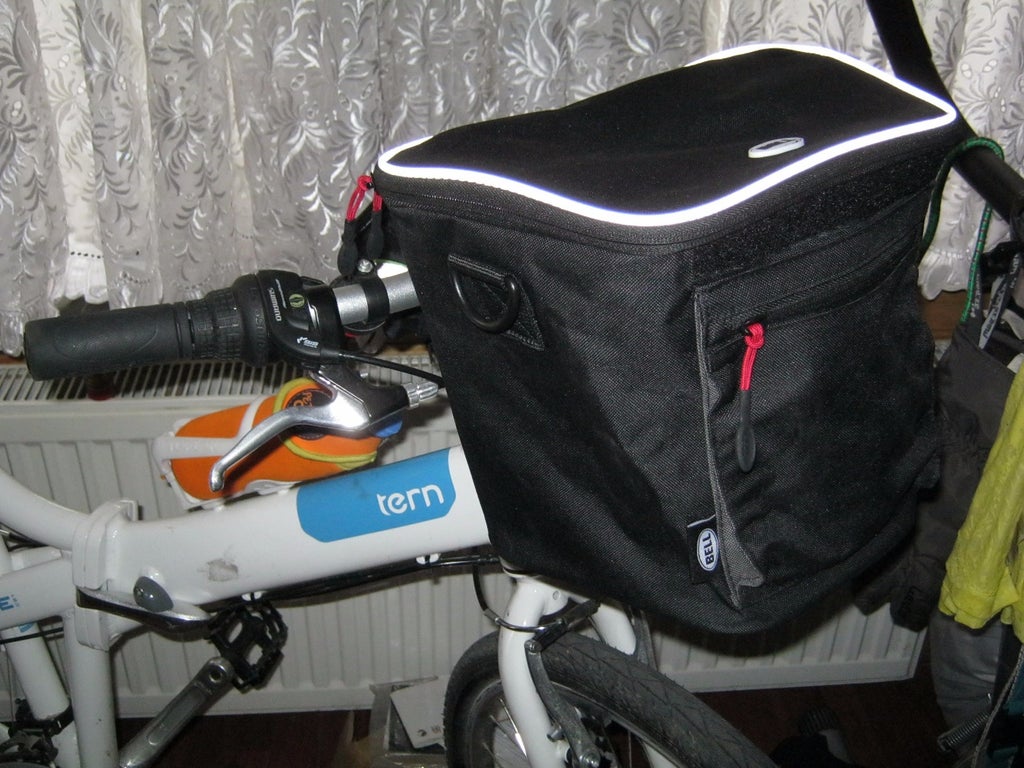
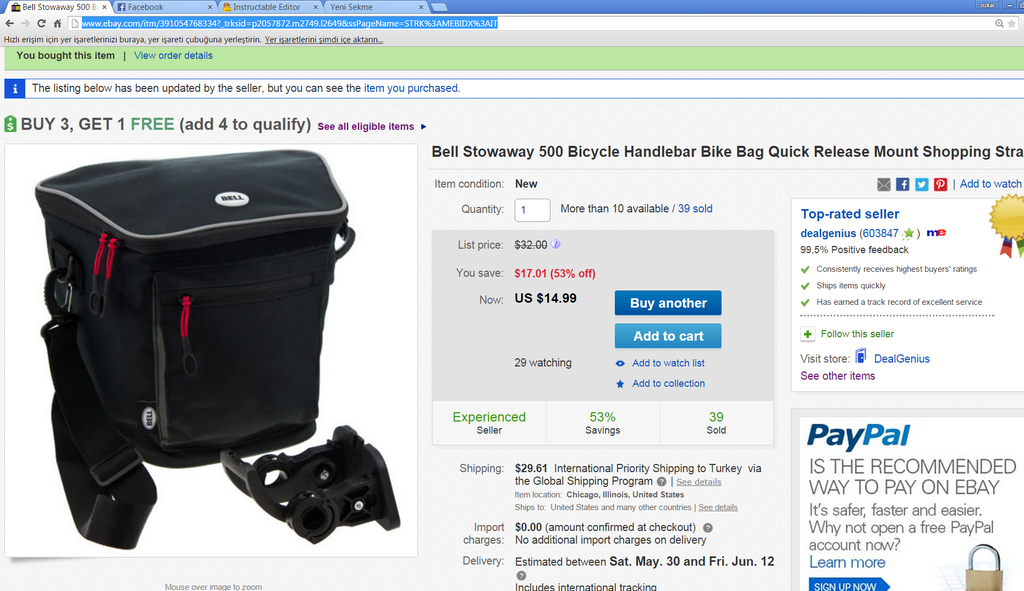
The need for me to develop this instructable arose in fact when i bought some bicycle accesories from ebay. Recently I’ve bought two cycling front pannier bags . One for my gf’s bike and one for mine. The bag’s support was suitable for 1″ handlebar thickness and barely fitted to my gf’s bike. And didn’t fit to mine as my bike had a 31.5mm thick handlebar.
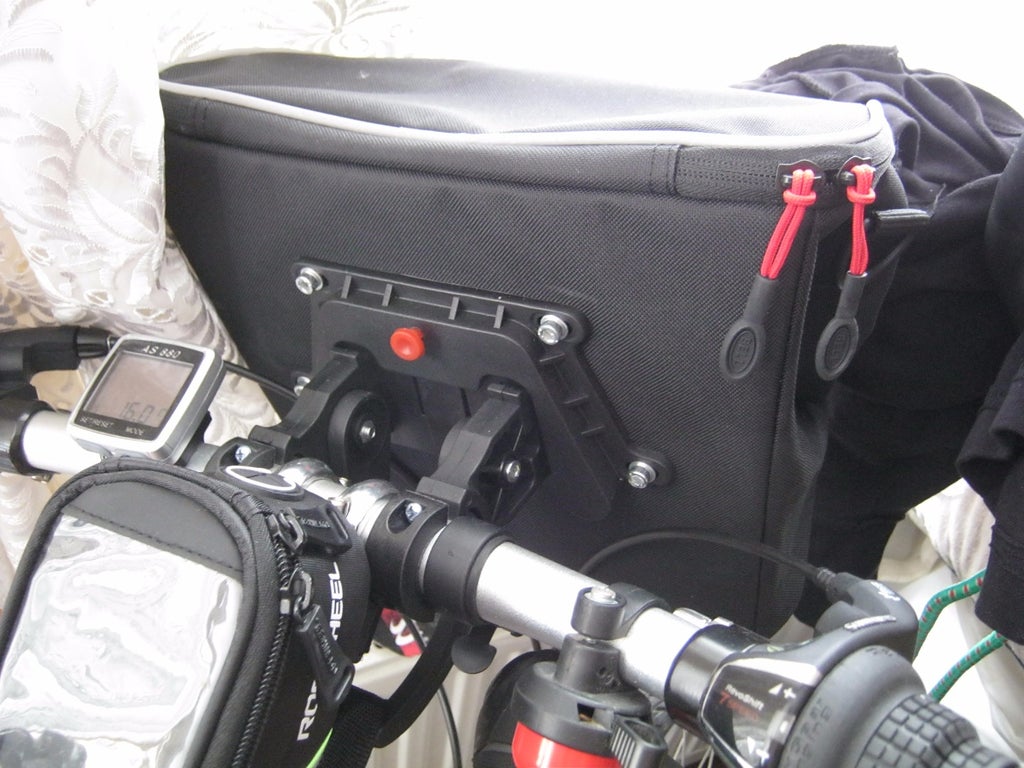
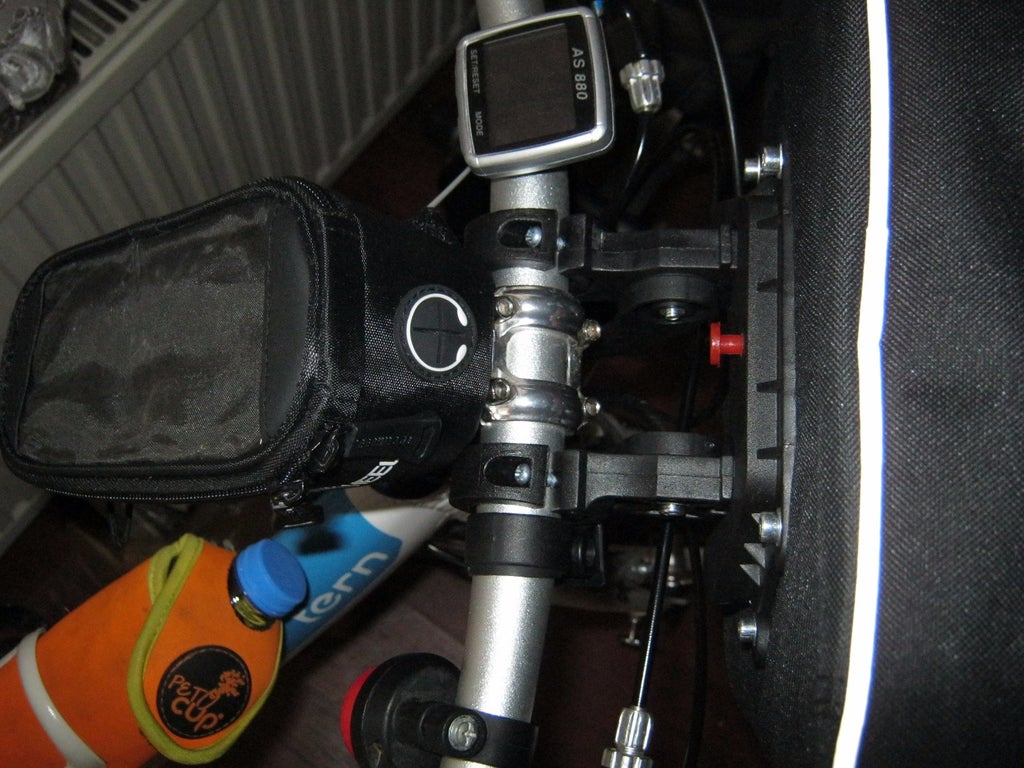
I planned to manufacture the parts with matching dimensions to my handlebar by 3d printing them.
As we all know, 3D printed parts produced by our ordinary home type printers are not so strong and when used in place of actual parts, they don’t last long. I thought it would be great If it is possible to somehow strengthen the 3d printed parts and worked on the subject a bit.
Strengthening a 3d part may give us the ability to use those parts in place of actual working, load bearing parts. So instead of trying to find an original replacement part for a broken one of our gadgets, robots, vehicles, mechanical toys or in any mechanical tech project we develop, we can simply go with the 3d printed parts.
The need for me to develop this instructable arose in fact when i bought some bicycle accesories from ebay. Recently I’ve bought two cycling front pannier bags . One for my gf’s bike and one for mine. The bag’s support was suitable for 1″ handlebar thickness and barely fitted to my gf’s bike. And didn’t fit to mine as my bike had a 31.5mm thick handlebar.
I planned to manufacture the parts with matching dimensions to my handlebar by 3d printing them.
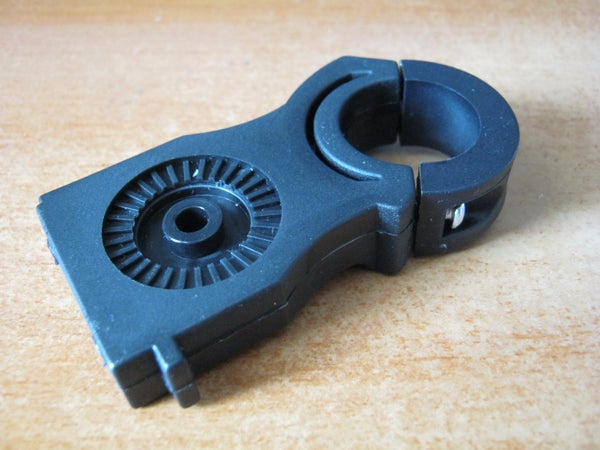
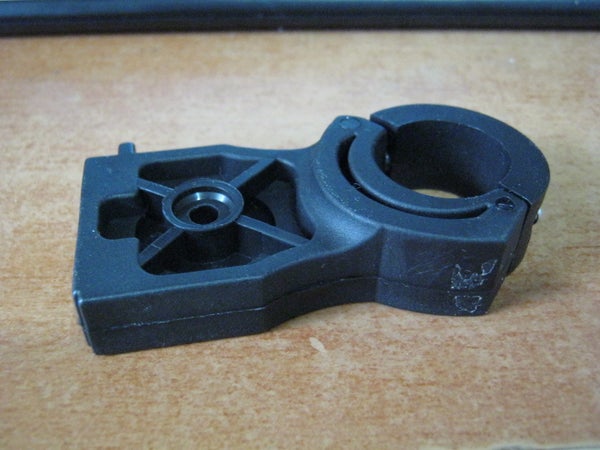
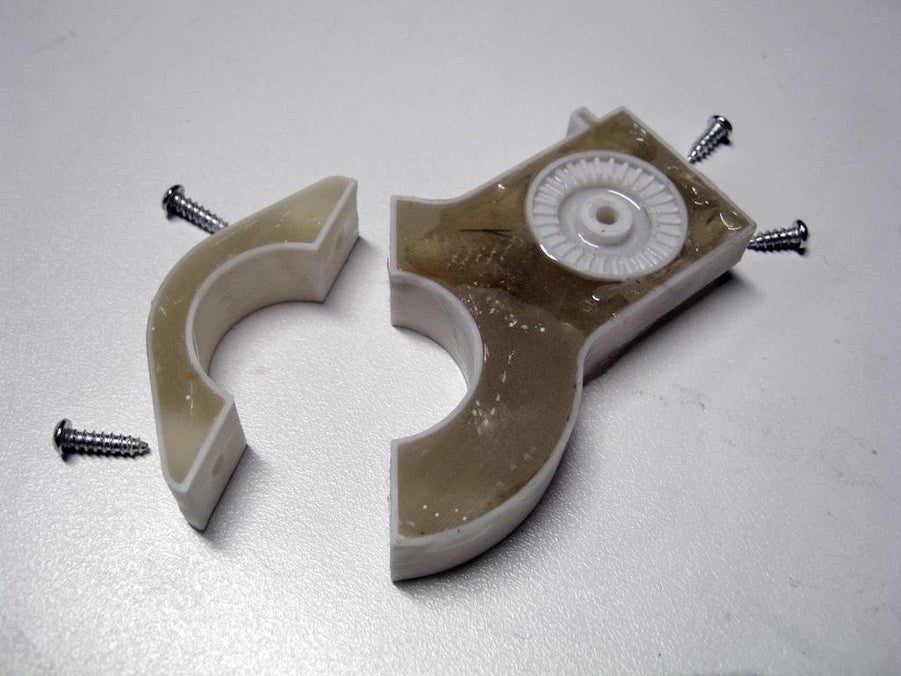
This is the disassembled part which I planned to produce by 3d printing.
To produce a 3d printed part, you need to have the 3d model files for it. So you need to either find and download them from the internet or get to work and model it yourself. Way 2 was the only choice I have, as 3d model for a specific part like this is impossible to find on the internet and I needed to modify it to fit my handlebar anyway.
But as very well known, 3d printed parts are not so famous with their strength. I’ve thought that an ordinary printed part willl not be strong enough to work properly at my bike, with heavy stuff in the bag, going on bouncy roads. So I thought that it will be necessary to strengthen the part somehow.
In my previous boatbuilding experience several years ago, I saw how much some layers of fiberglass and epoxy give extra strength to a thin plywood part, enabling it to withstand strong forces easily.
So I decided to use fiberglass and epoxy to do the job.
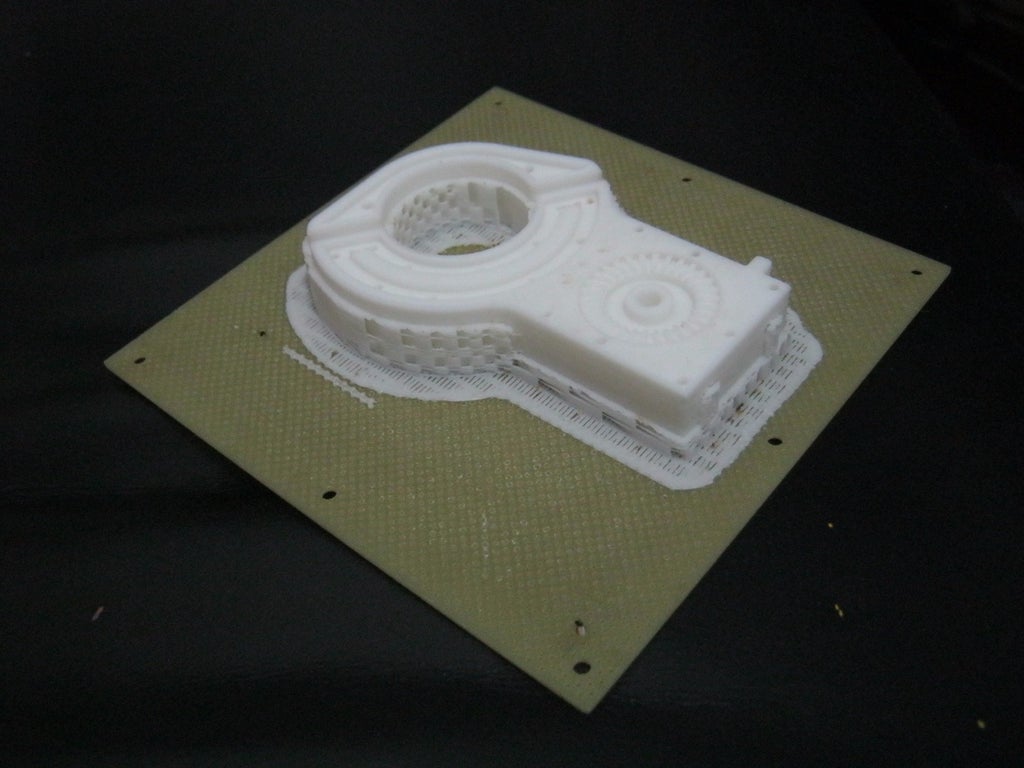
First plan was to model the part, do the necessary modifications on the dimensions and cover all around it with fiberglass fabric and epoxy. So I started modeling my first design for the part.