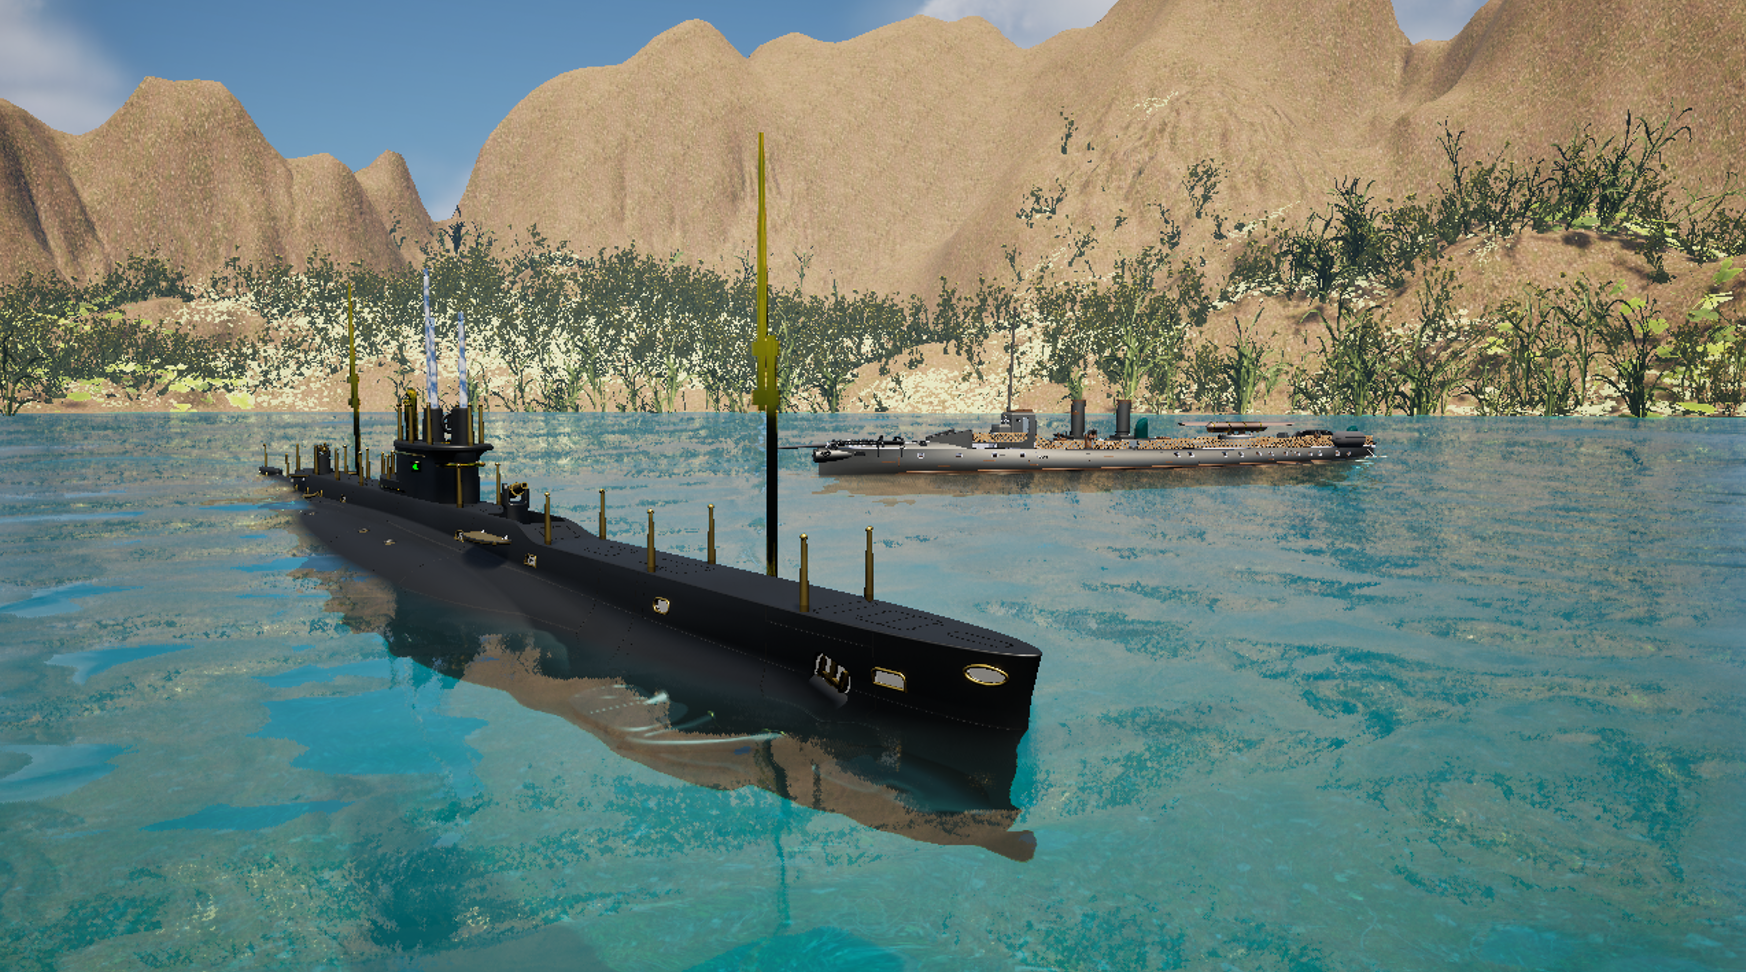
In the annals of naval history, there are battles that stand out not just for their strategic significance but also for the sheer audacity and courage displayed by the sailors involved. One such remarkable encounter took place during World War I in the waters of the Marmara Sea, where the Australian submarine AE-2 faced off against the formidable Sultanhisar torpedo boat, creating a saga of bravery and maritime prowess.
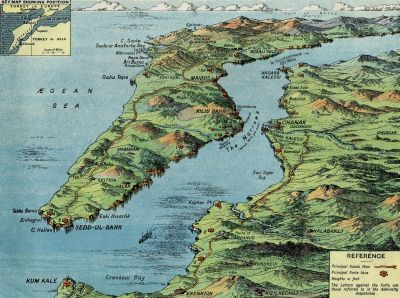
The stage was set in April 1915, a time when the Great War was raging across Europe and its theaters extending into the Mediterranean. The Ottoman Empire, a key player in the conflict, controlled vital sea routes in the eastern Mediterranean, posing a threat to Allied shipping and military operations. The Allies, including Australia, were keen to establish naval dominance in these waters.
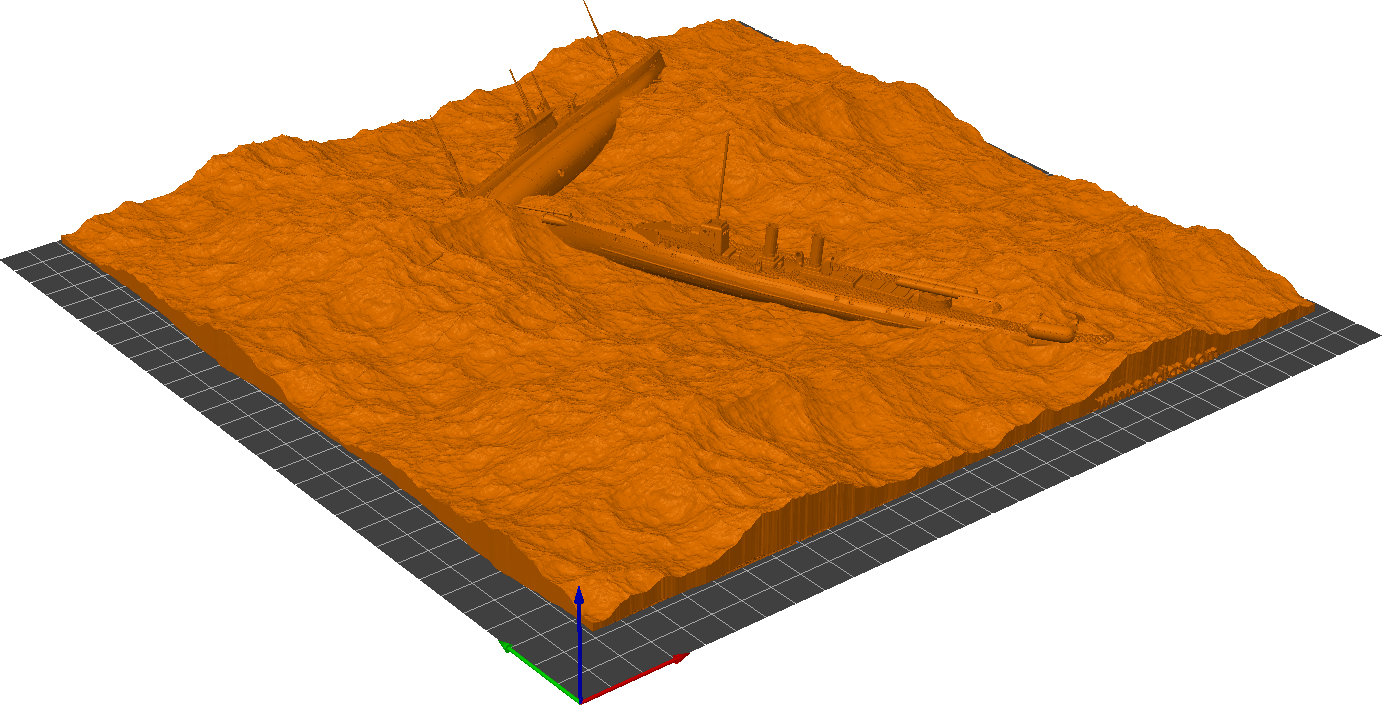
Continue reading for the rest of the article and the free 3d model of the battle diorama.
Anzacs
Gallipoli
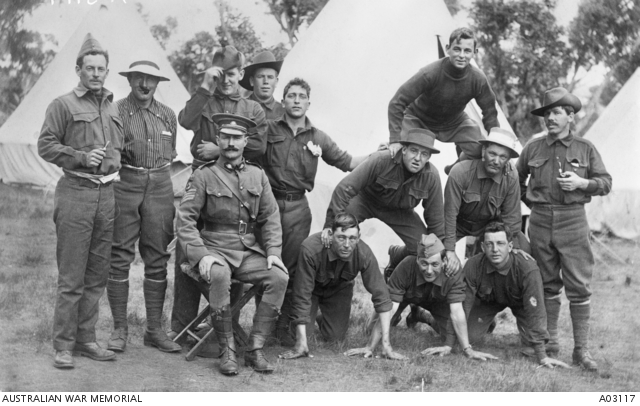
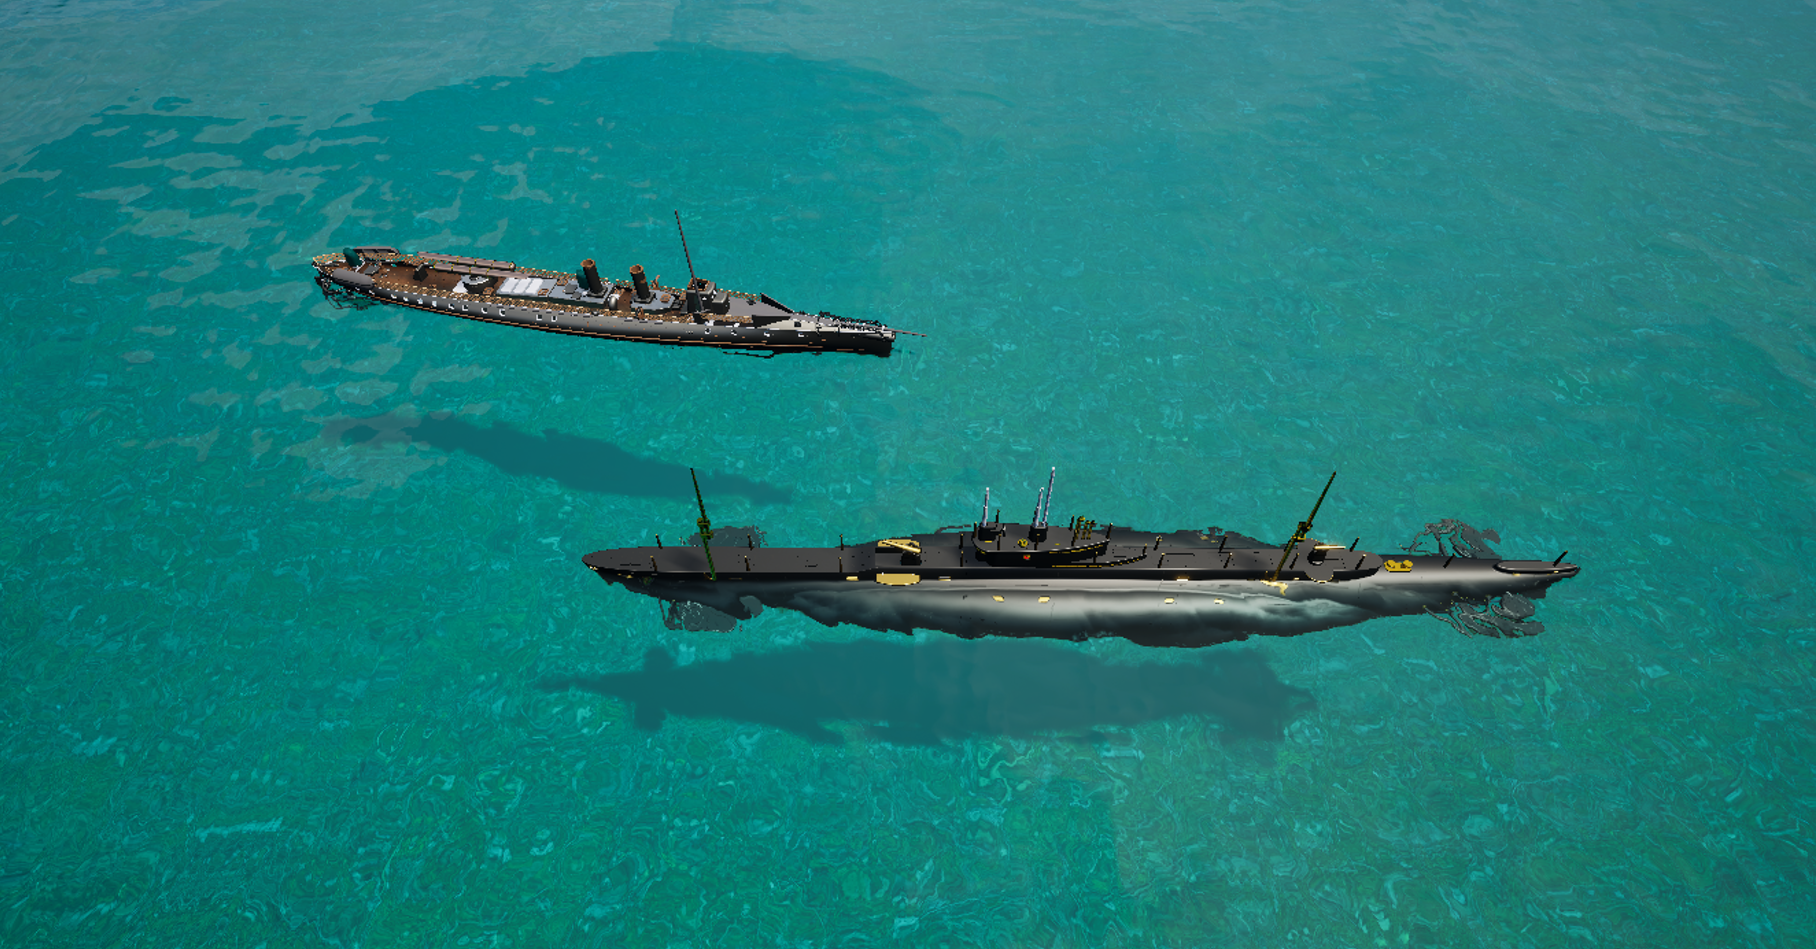
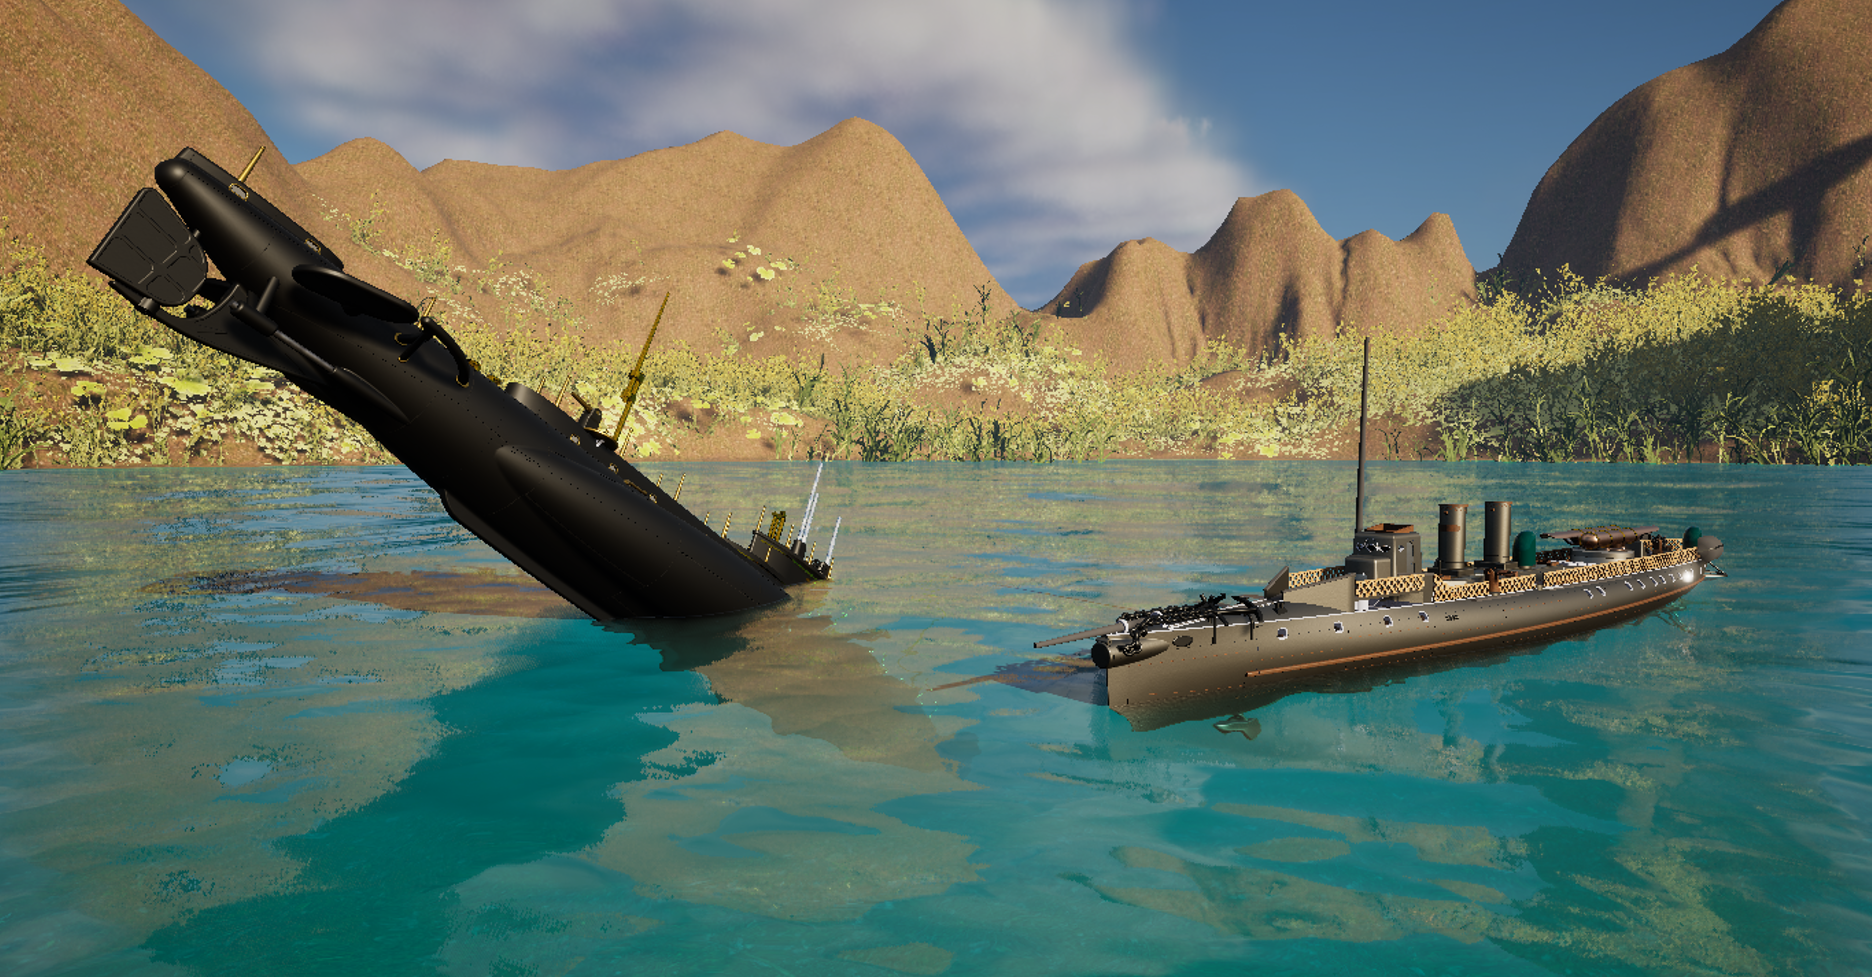
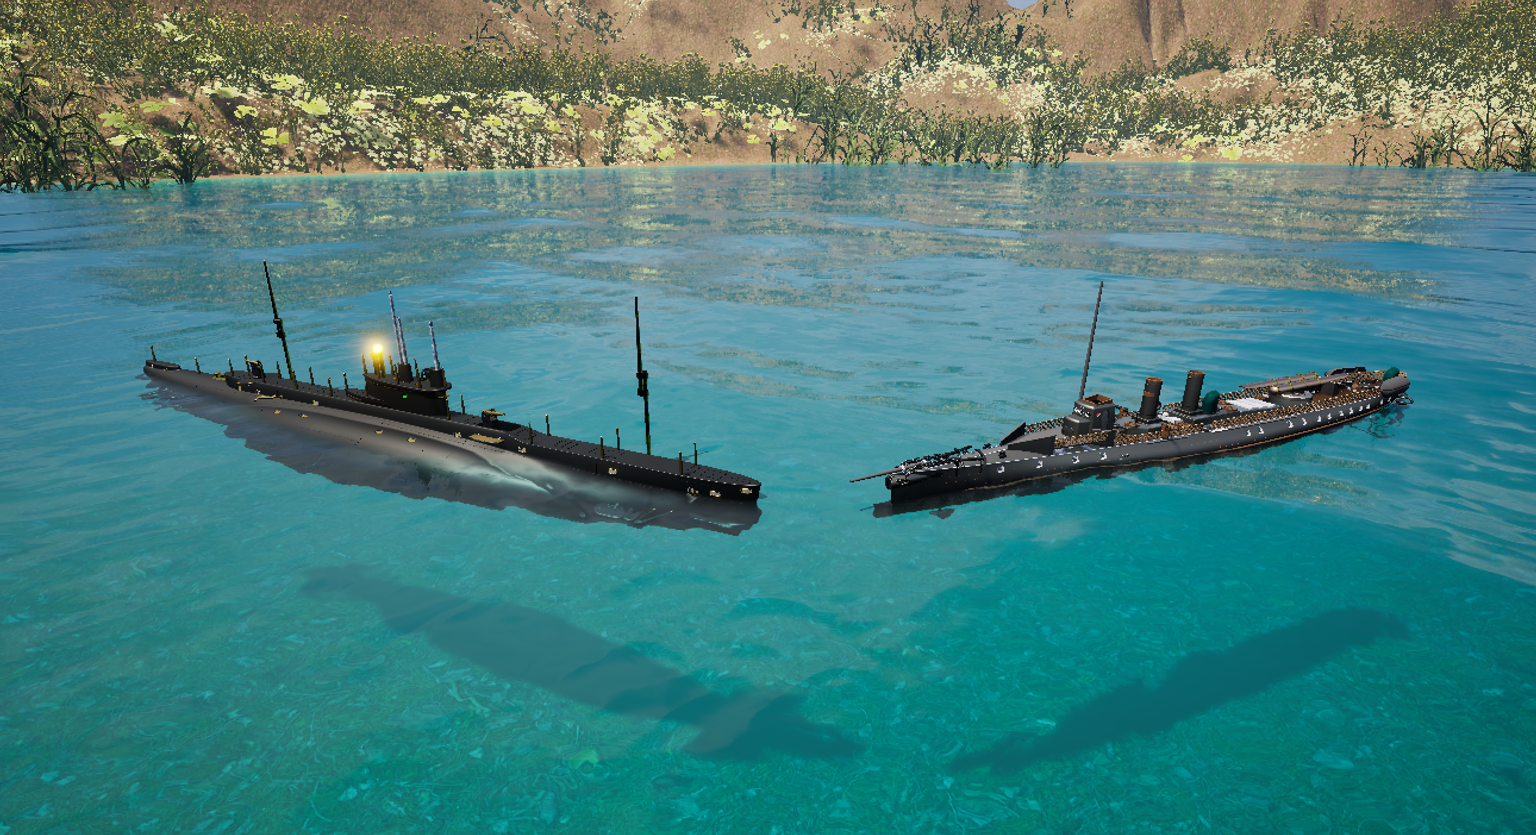
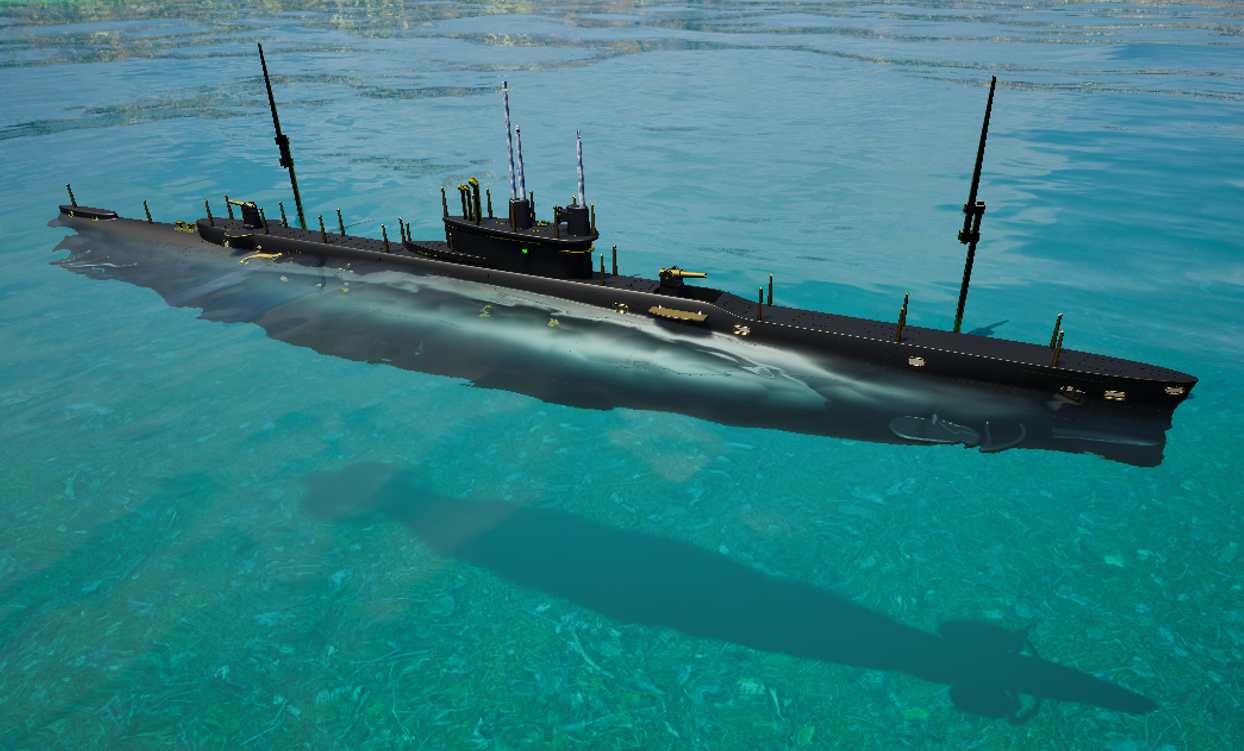
The AE-2, a B-class submarine of the Royal Australian Navy, was on a daring mission to disrupt Ottoman naval activities and support the broader Allied strategy. Under the command of Lieutenant Commander Henry Hugh Gordon Dacre Stoker, the AE-2 set out on a perilous journey into the heart of enemy waters.
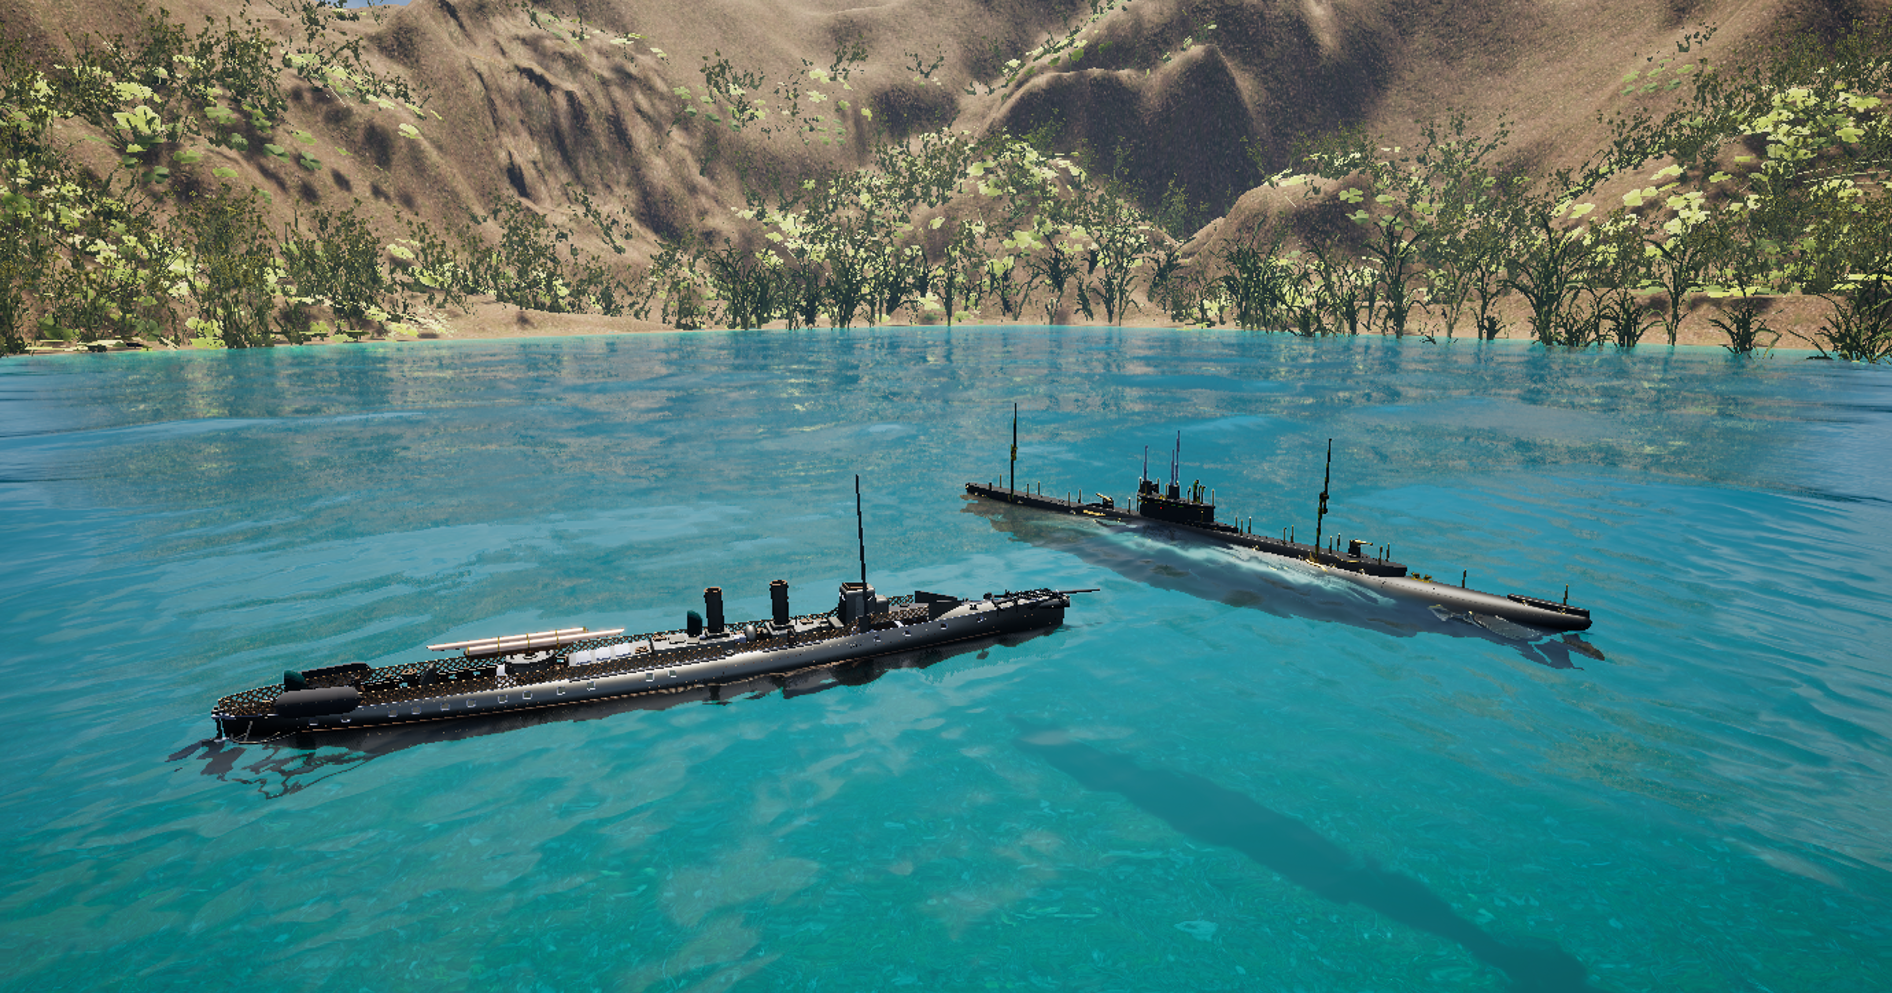
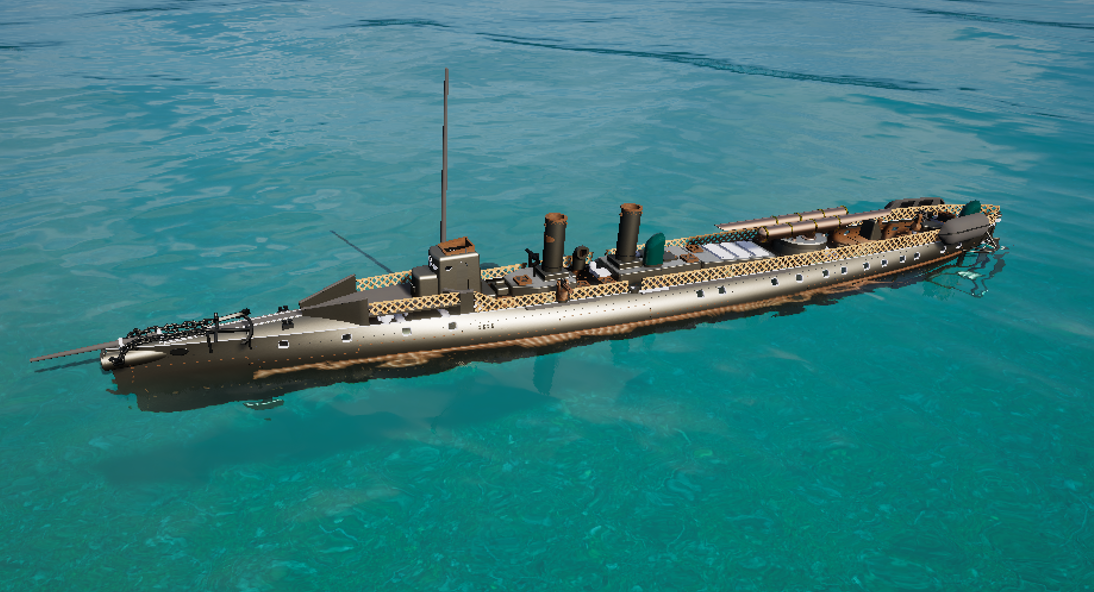
On the other side, the Sultanhisar torpedo boat, a swift and heavily armed vessel of the Ottoman Navy, was tasked with patrolling and defending the strategic Dardanelles Strait. The stage was thus set for a dramatic encounter between these two maritime giants.
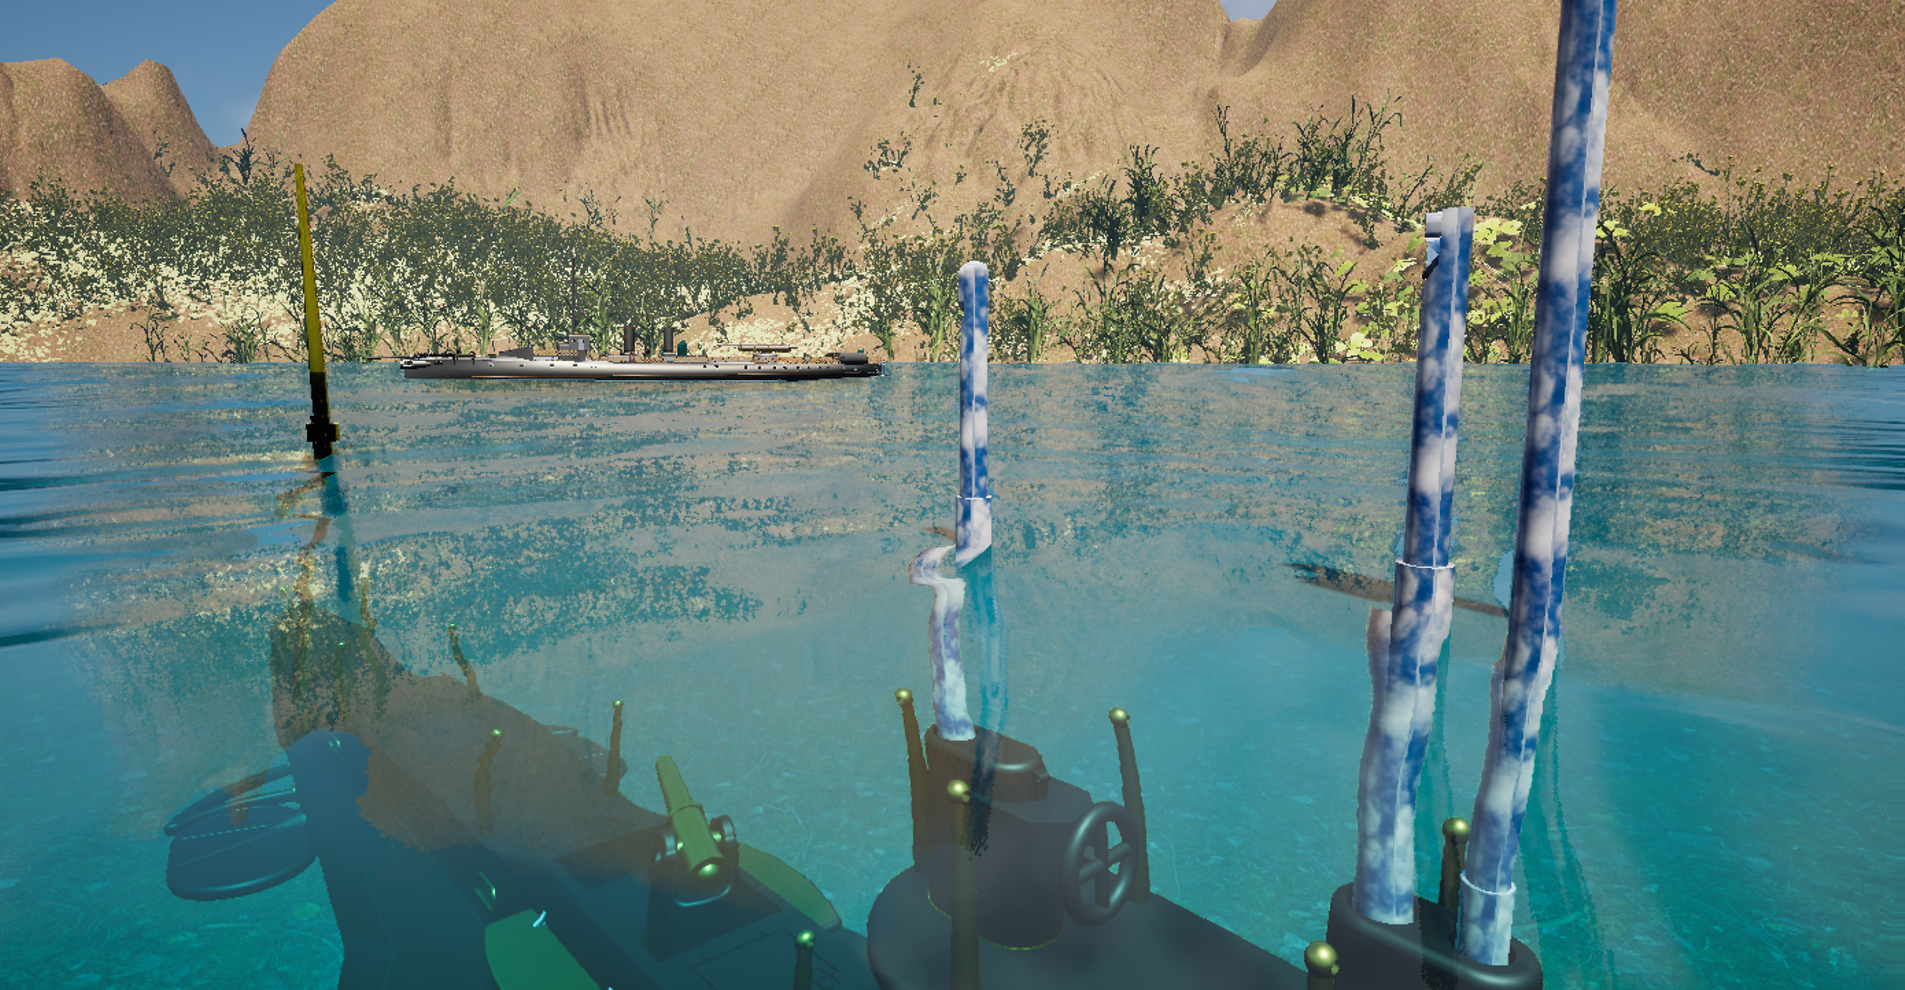
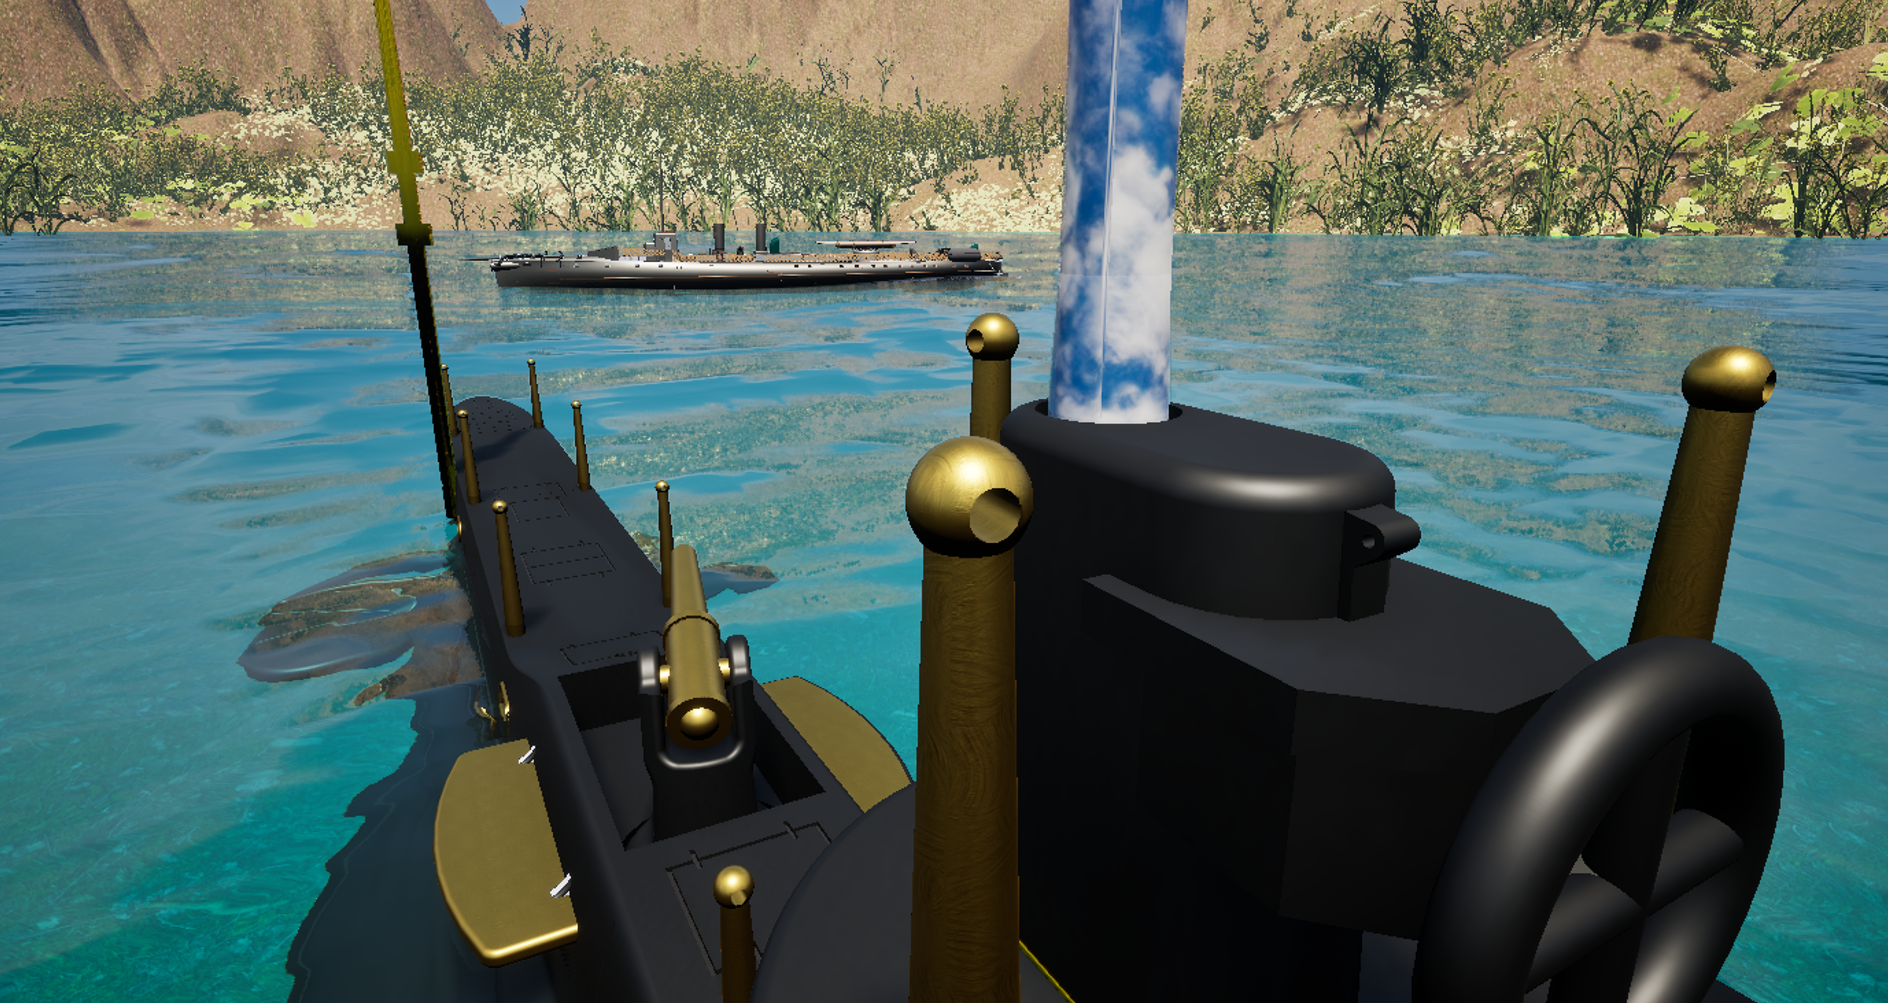
The fateful engagement occurred on April 30, 1915, near the entrance of the Dardanelles. The AE-2, relying on stealth and surprise, launched a daring attack on the Sultanhisar. Despite being outnumbered and outgunned, the Australian submarine unleashed its torpedoes with precision, targeting the enemy vessel with relentless determination.
The Sultanhisar, caught off guard by the sudden assault from beneath the waves, fought back ferociously, unleashing a barrage of gunfire and depth charges in an attempt to destroy the AE-2. The waters churned with the intensity of the battle as these two adversaries clashed in a struggle for supremacy.

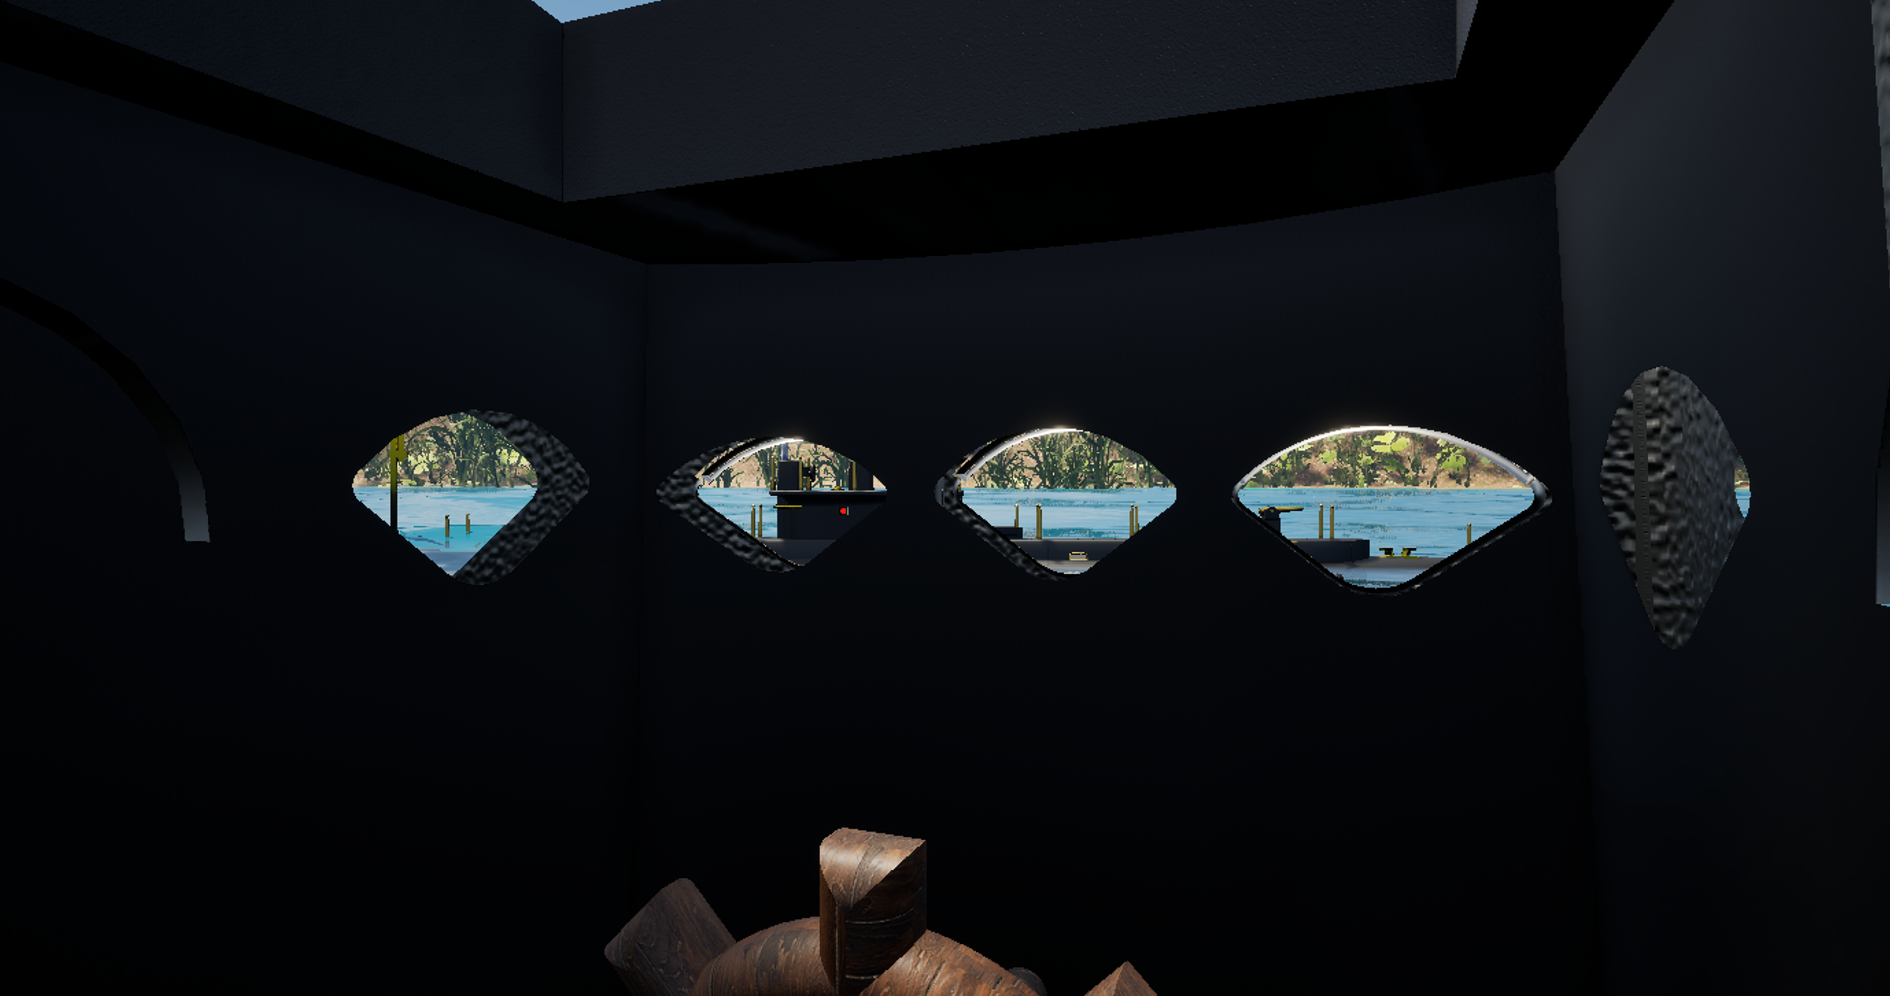
Amidst the chaos and din of war, the crews of both vessels displayed remarkable courage and skill. The submariners of AE-2, operating in cramped and hazardous conditions, maneuvered their craft with precision and resolve. Meanwhile, the sailors aboard the Sultanhisar, facing an unseen enemy from below, stood their ground with unwavering valor.
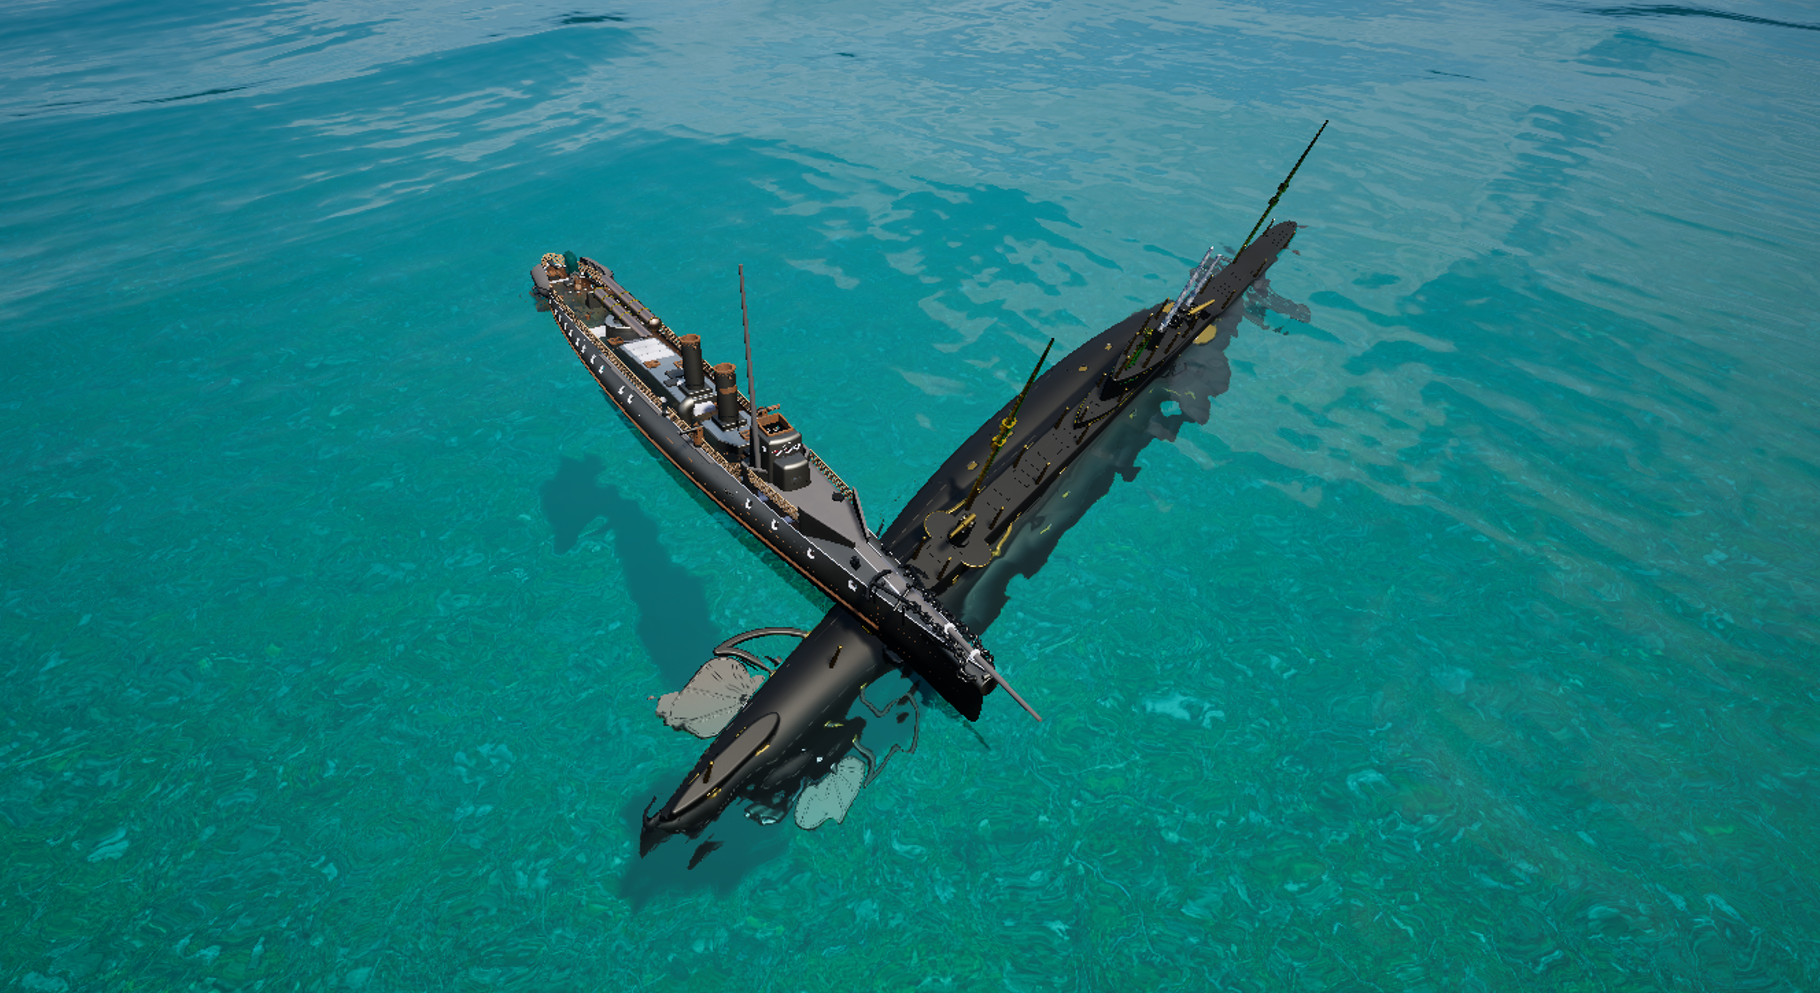
The battle raged on for hours, a testament to the tenacity and determination of both sides. Ultimately, it was Sultanhisar that emerged victorious by ramming the sub and inflicting severe damage, forcing it to surface. The Australian submarine had achieved a remarkable feat, proving the effectiveness of submarines in modern naval warfare but they had to scuttle their sub and surrender to the enemy eventually.
The sea battle between the AE-2 submarine and the Sultanhisar torpedo boat remains etched in history as a testament to the bravery of those who served and sacrificed at sea. It serves as a reminder of the pivotal role played by naval forces in shaping the course of global conflicts and the enduring legacy of courage under fire.
You can download the 3d models in these battle scenes. Both ships are 3d printable 1 meter long models with empty interiors suitable for remote control projects. File packages include high rez STL and Unreal Engine compatible GLB files.
Here is the AE-2 article, the paid and free model links are in the article.
Here is the Sultanhisar article, the paid and free model links are in the article.


 Users Today : 21
 Users Yesterday : 75
 Users Last 7 days : 477
 Views Today : 57
 Views Yesterday : 344
 Views Last 7 days : 1730
 Total views : 1224586
 Who's Online : 0