A Modular 1:48‑Scale Ironclad
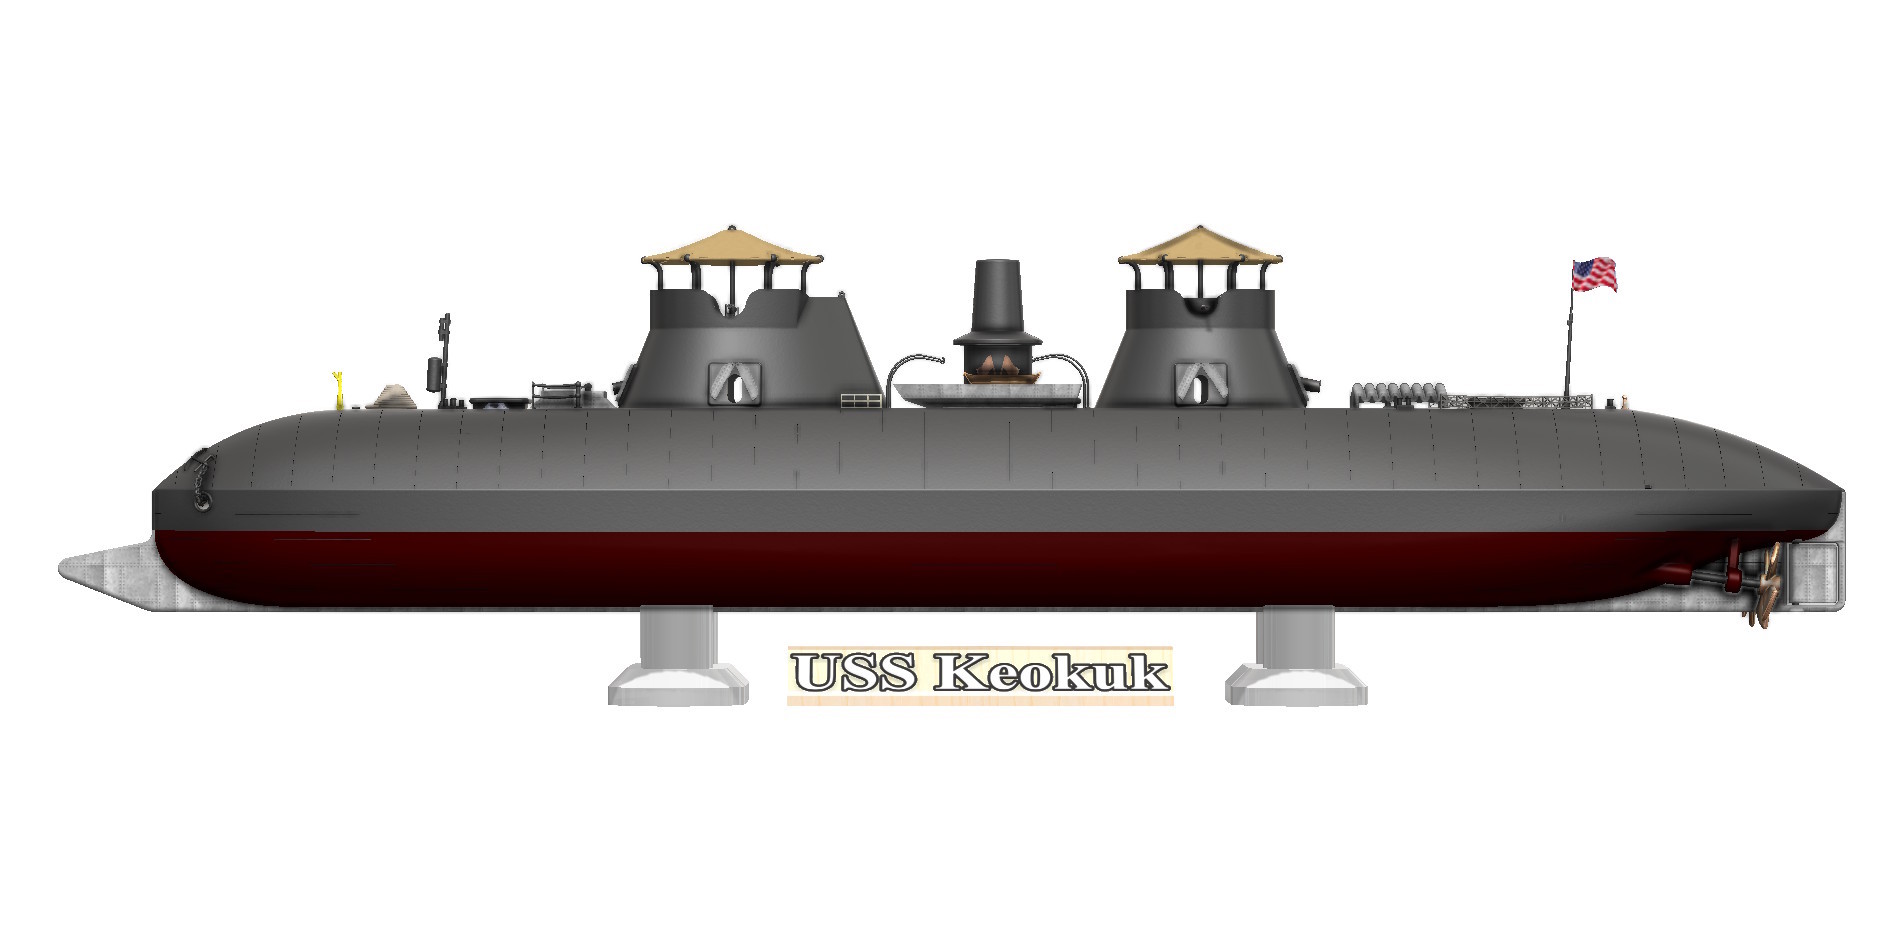
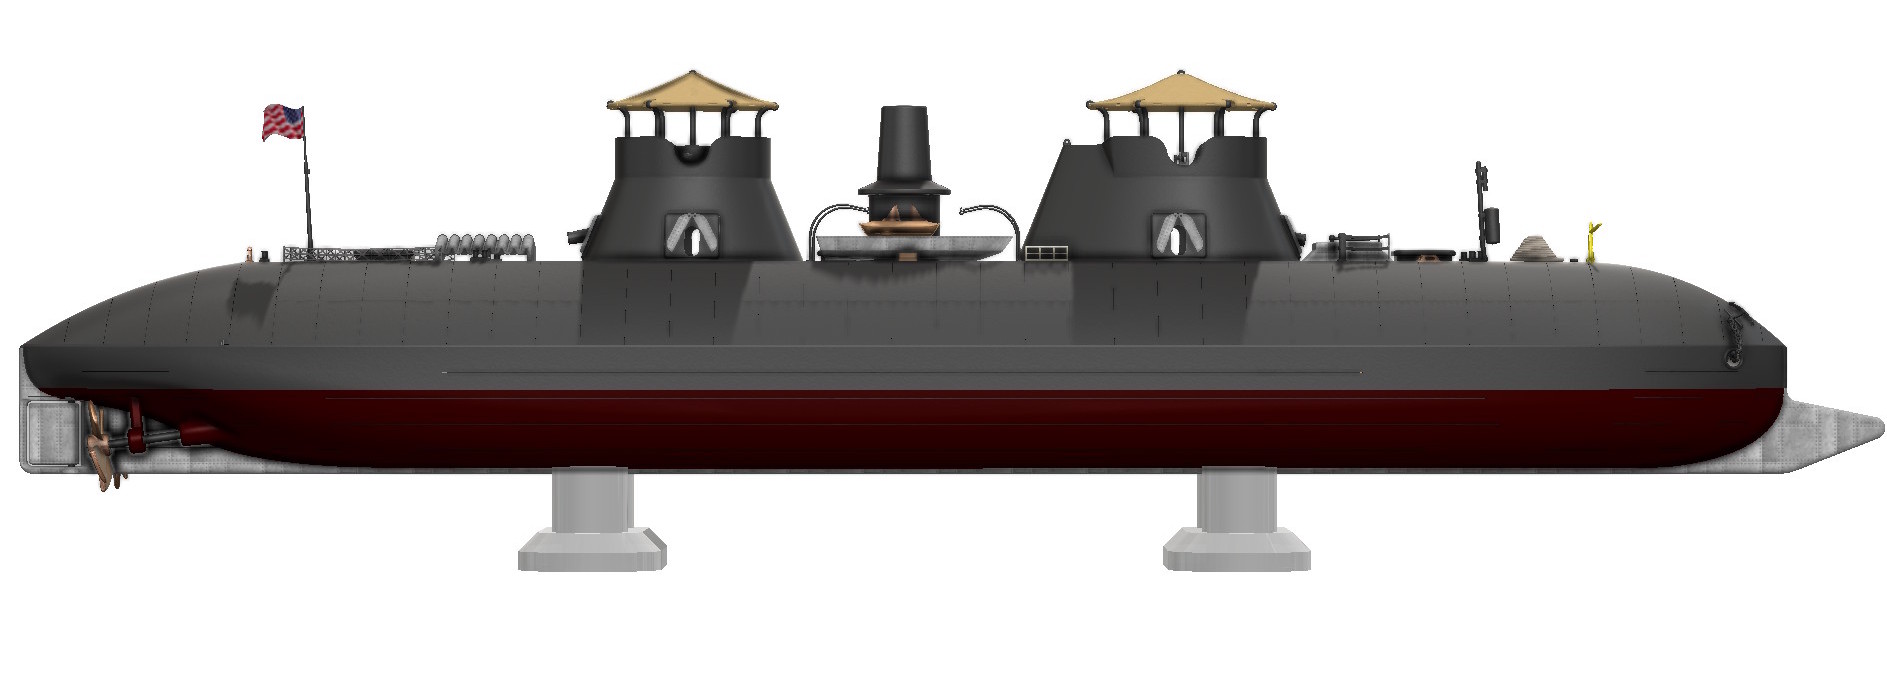
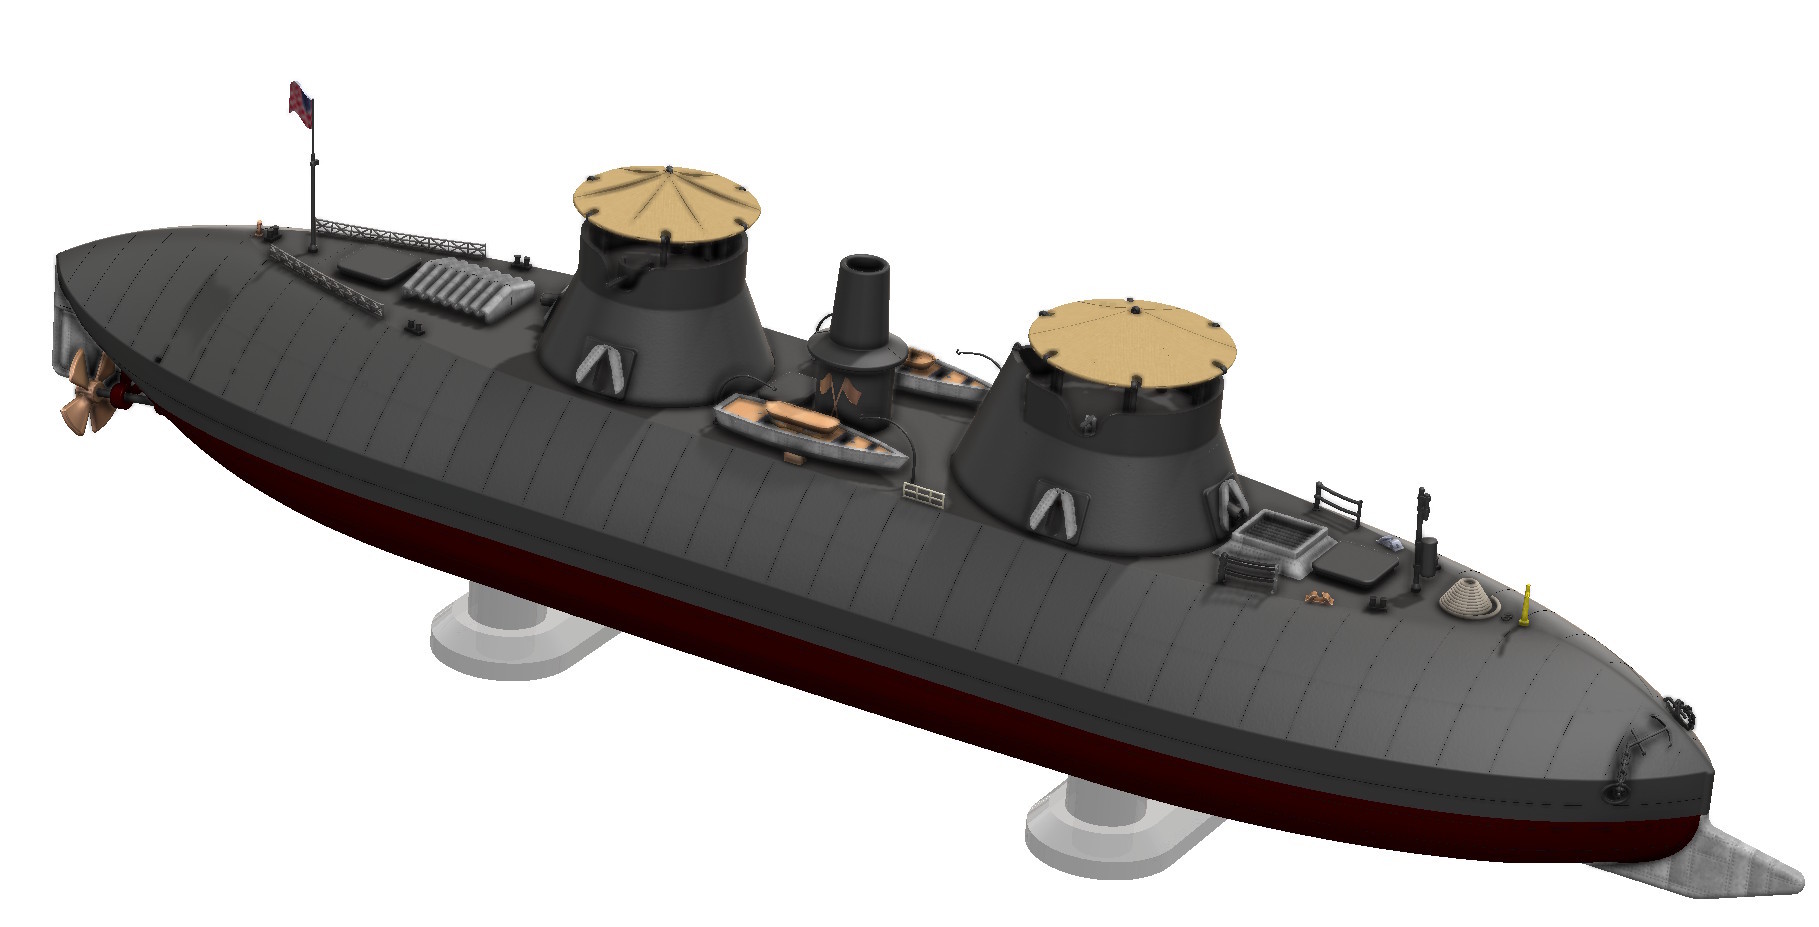
When the Civil War broke out, the U.S. Navy was forced to rethink warship design. Traditional wooden hulls could not survive the new, high‑powered guns that were being fielded on land. In response, designers began experimenting with iron‑clad hulls that would shrug off cannon fire and resist the very bullets that had once devastated wooden ships. The USS Keokuk, launched in December 1862, was one of the first of these experimental “casemate” ironclads.

With a 159‑foot length, 36‑foot beam, and a displacement of 677 long tons, the Keokuk was built from a solid iron hull, with a wooden deck and a thin layer of filler armor that protected the gun positions. Powered by two 250‑hp steam engines that drove twin 7‑foot screws, the vessel could reach 9 knots – a respectable speed for a warship of its time.

Armed with two 11‑inch Dahlgren smoothbore guns and a ram bow, it joined the South Atlantic Blockading Squadron in March 1863 and saw action in the Charleston campaign. Though its operational record was brief, the Keokuk’s design paved the way for the next generation of iron‑clad warships.

Our 1:48‑scale file pack brings the historic ironclad into the hands of hobbyists and RC enthusiasts alike. The design has been carefully optimised for 3‑D printing while preserving the ship’s iconic profile:
Continue reading for more info and renderings.
Or proceed directly to our purchase page on Cults3D.


| Feature | Description |
|---|---|
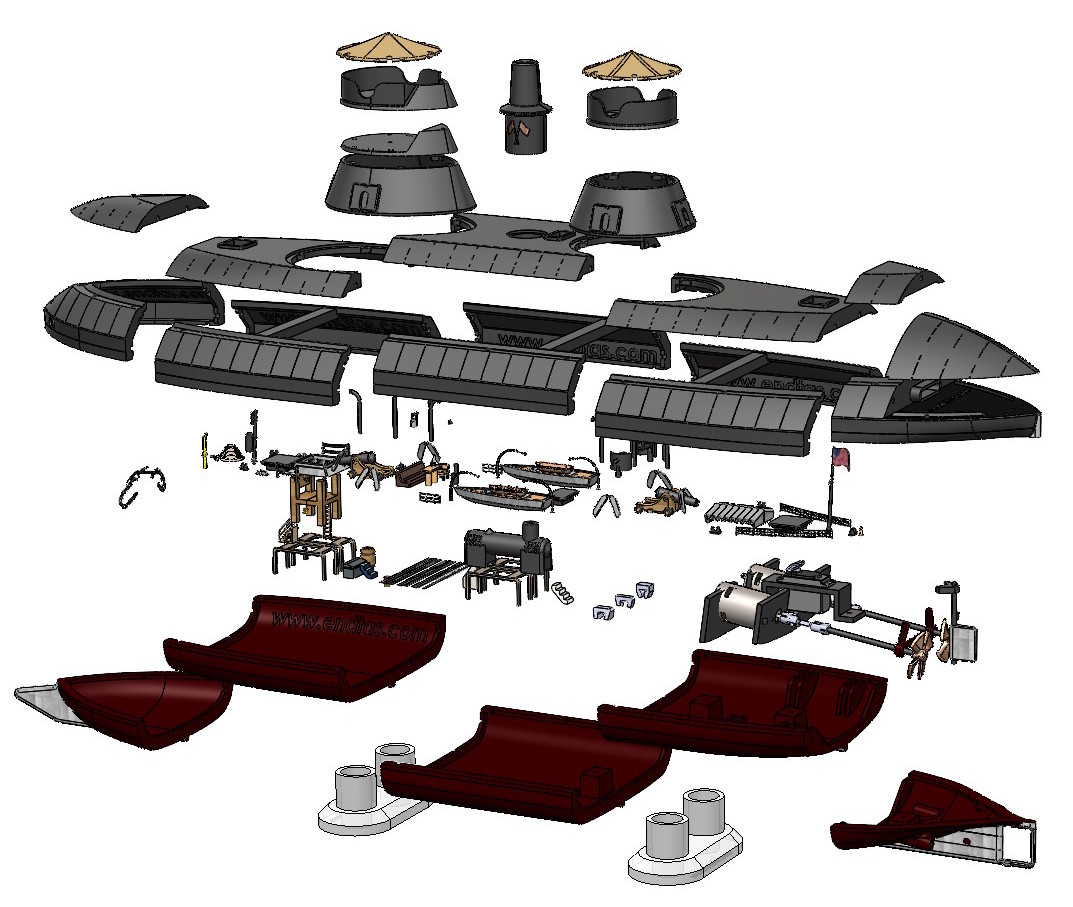
| Modular Construction | The hull and superstructure come together from just fifteen printable pieces. This makes the build approachable for beginners and quick for seasoned modelers. |
| Over 110 STL Components | Every turret, gun, interior panel, and accessory is a separate high‑poly file. That means you can swap out armaments or upgrade the deck without touching the hull. |
| Full‑Color 3MF Master | For those with a colour printer, the single 3MF file contains all geometry, material, and colour data. |
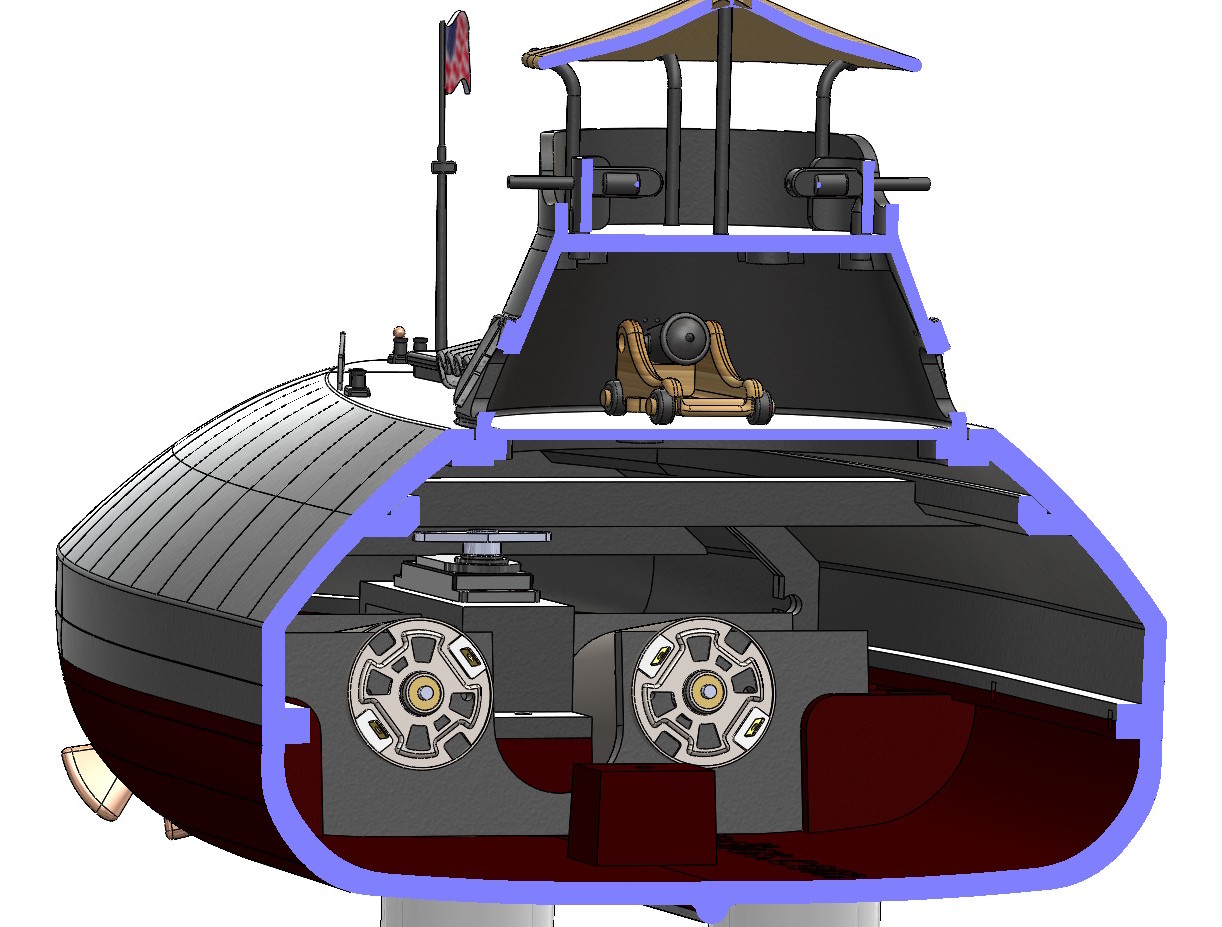
| Mounting Surfaces | Each large part has built‑in mounting plates so that the model stays rigid without the need for complex adhesives. |
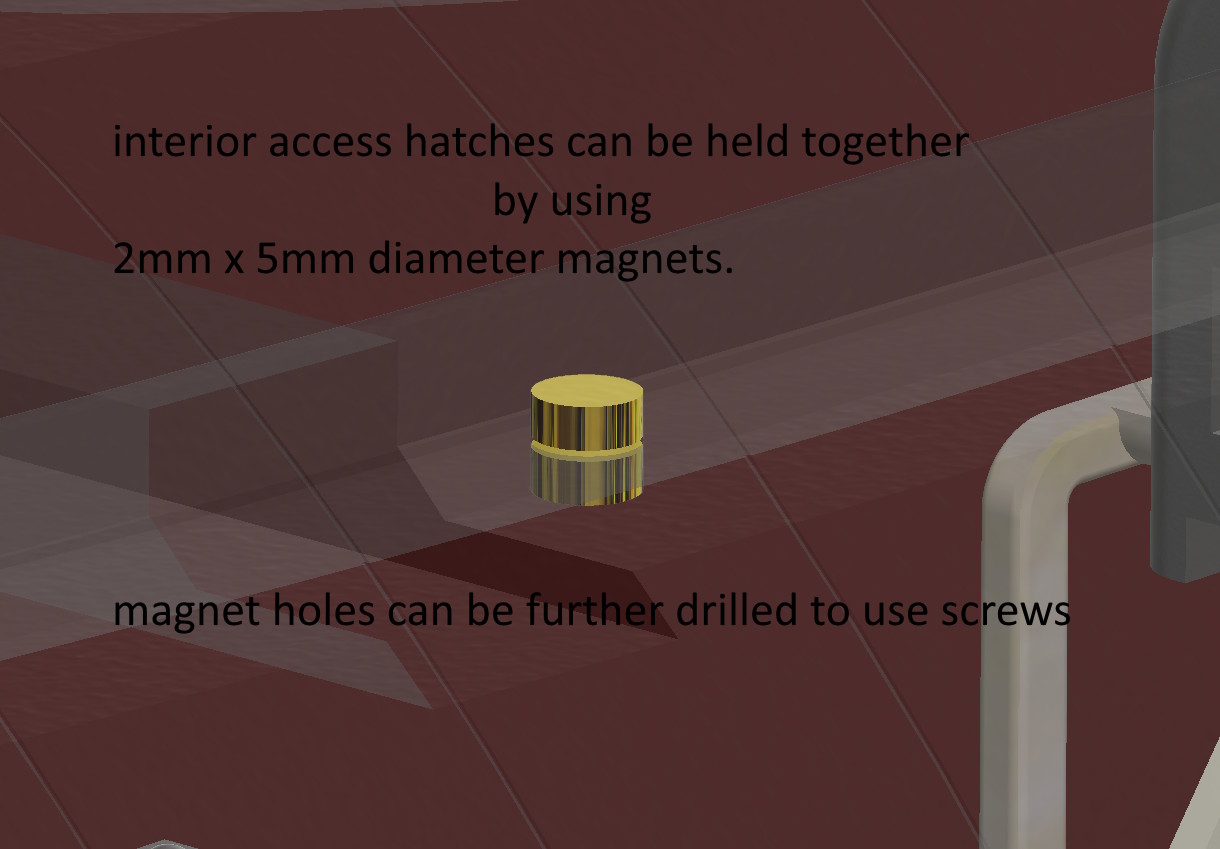
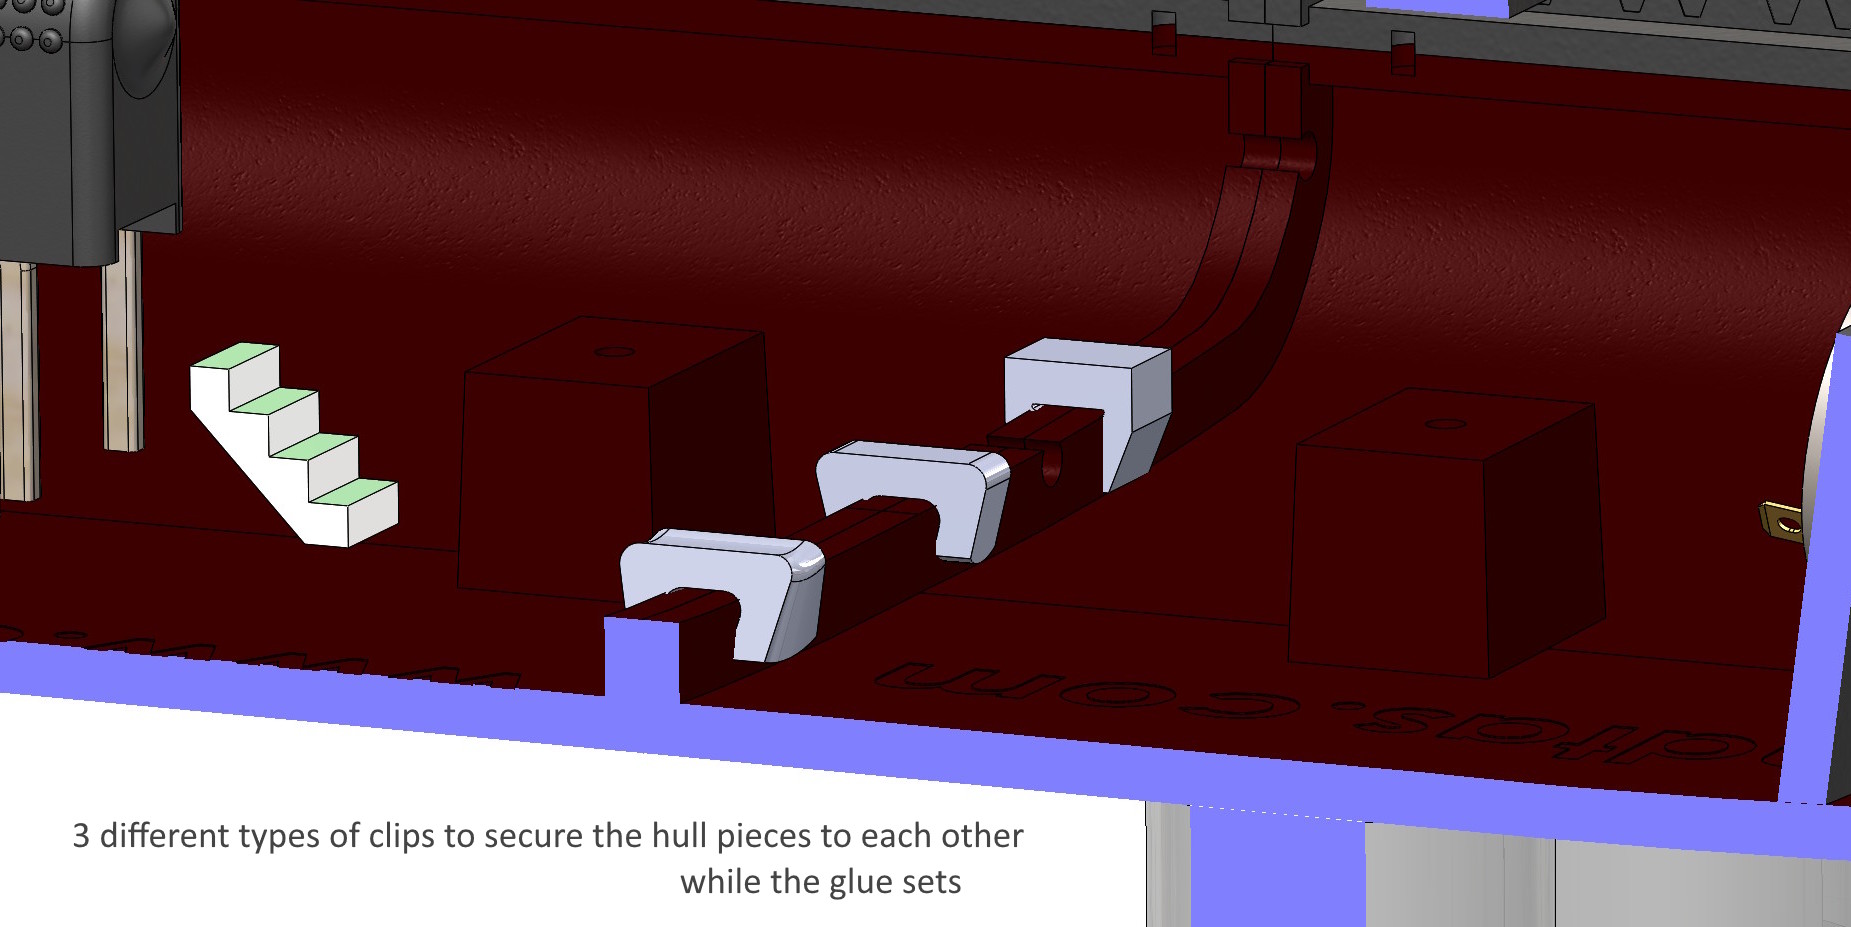
| Three Clip Types | To keep the structure together while glue sets, we provide a range of clips that work with common household glues. |
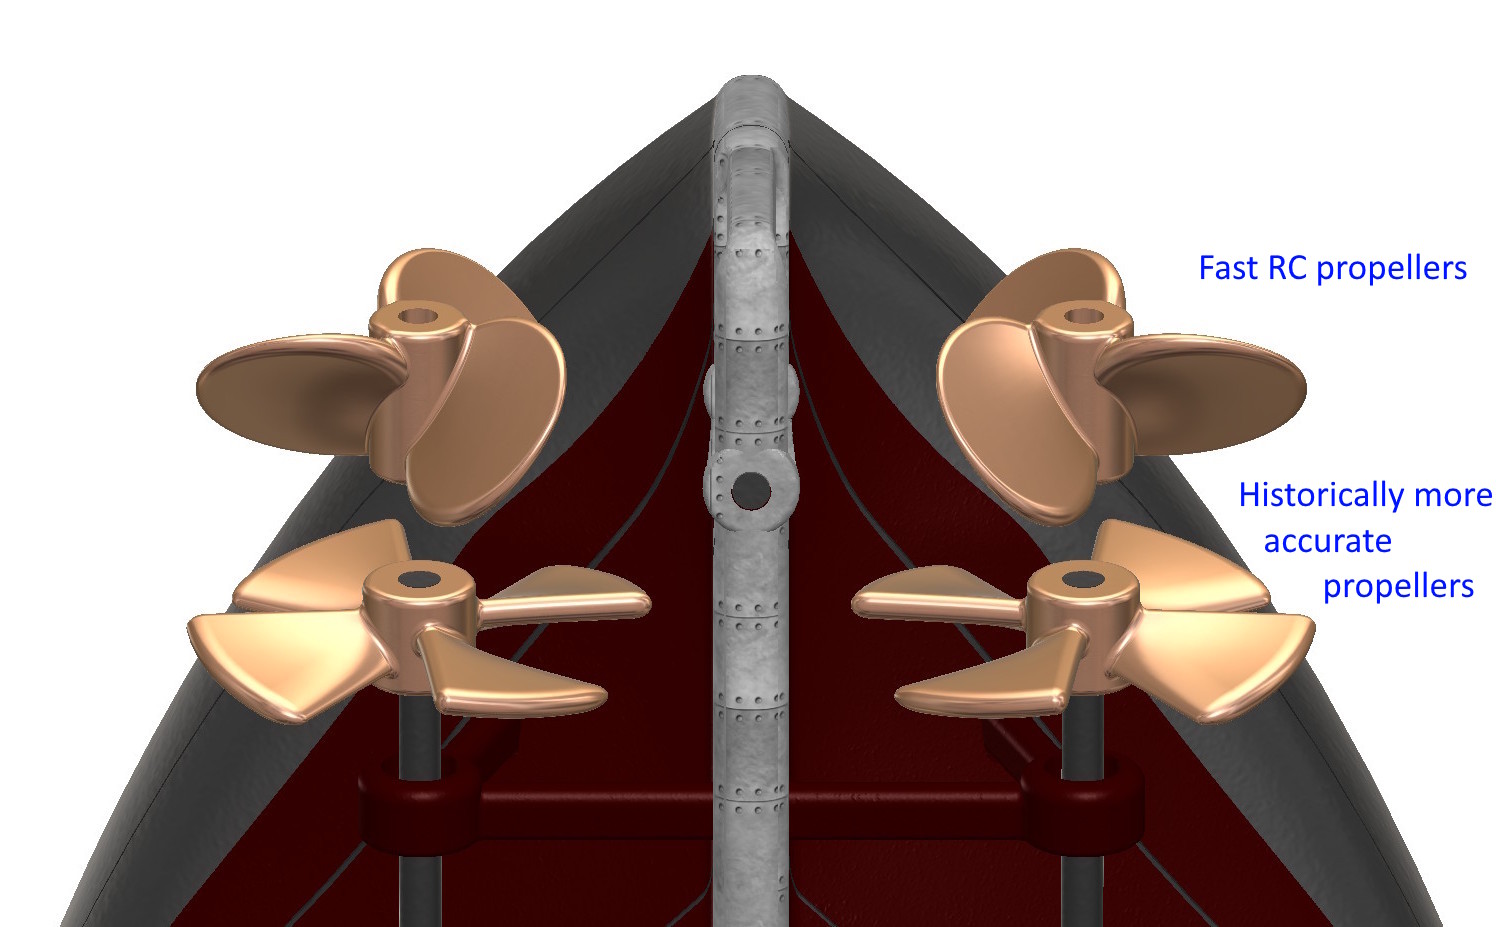
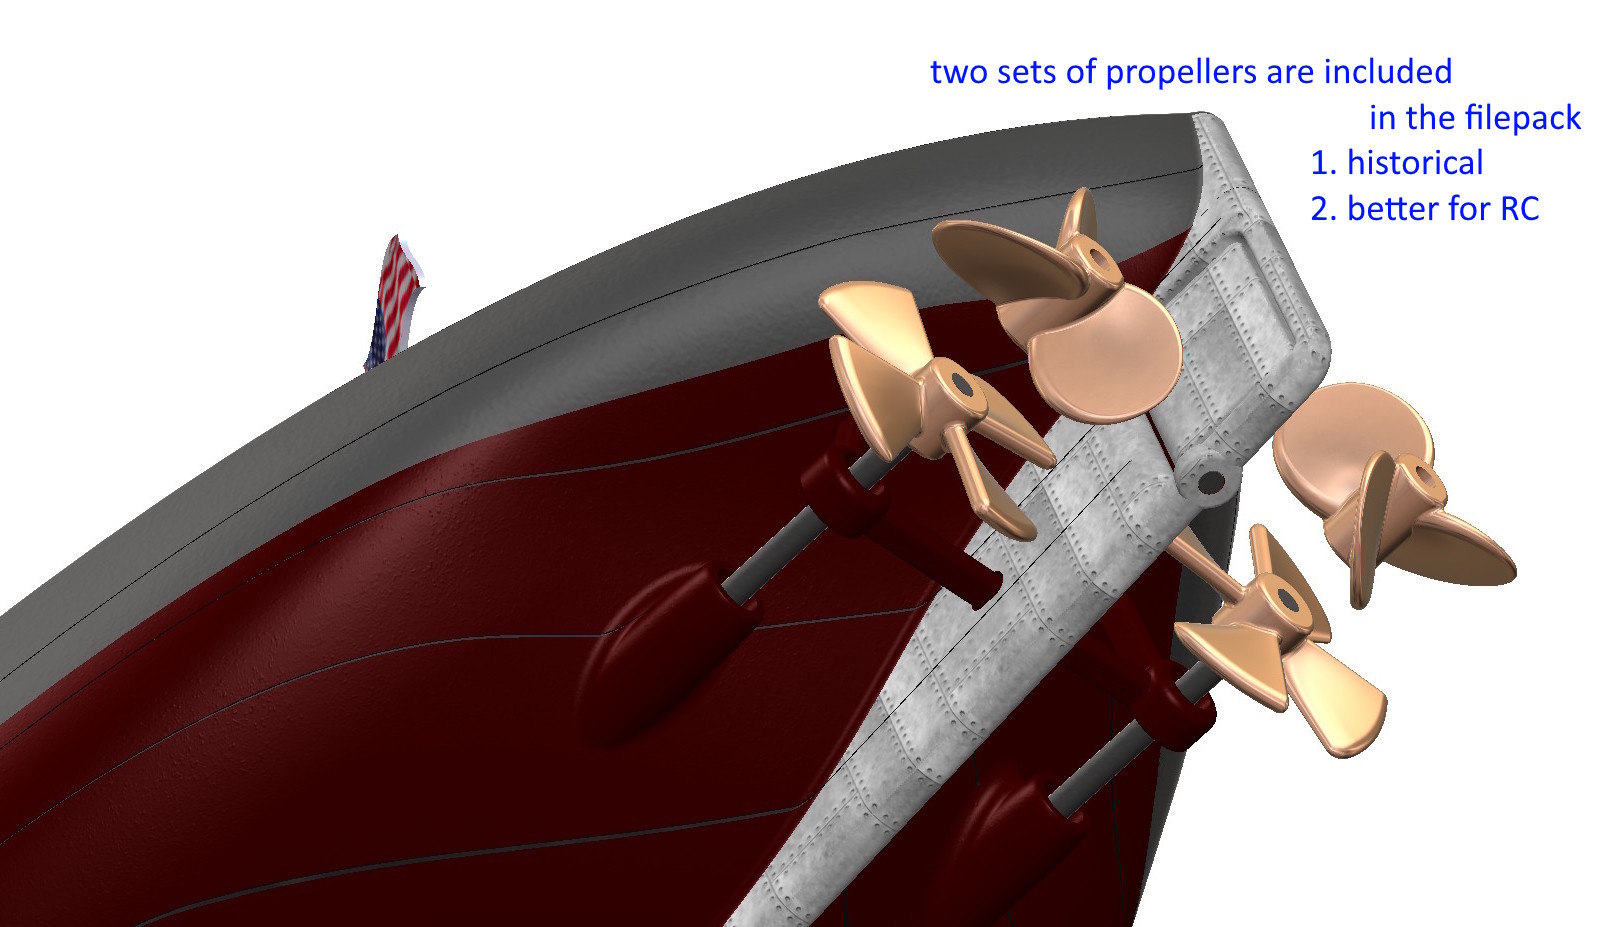
| Propellers for Every Need | Two propellers are included: one historically accurate, the other RC‑optimised for speed and manoeuvrability. |
| RC‑Ready Deck | The entire upper deck doubles as an access lid, making it perfect for mounting radio‑control electronics. |
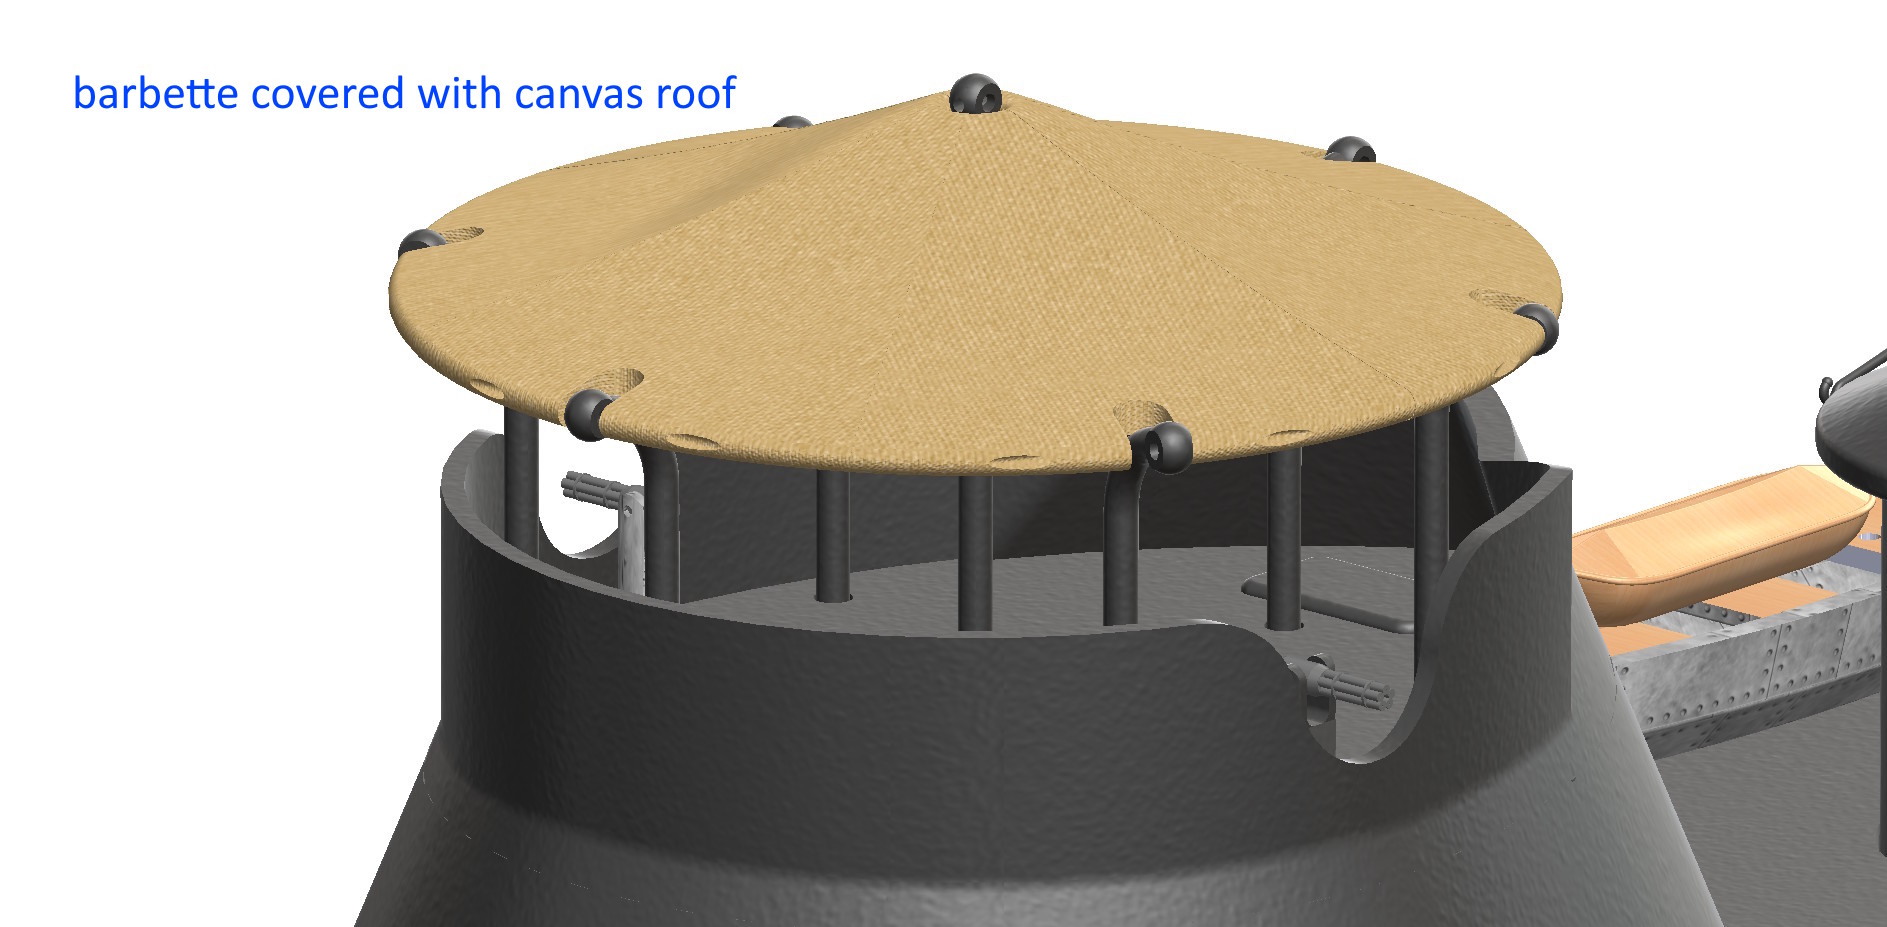
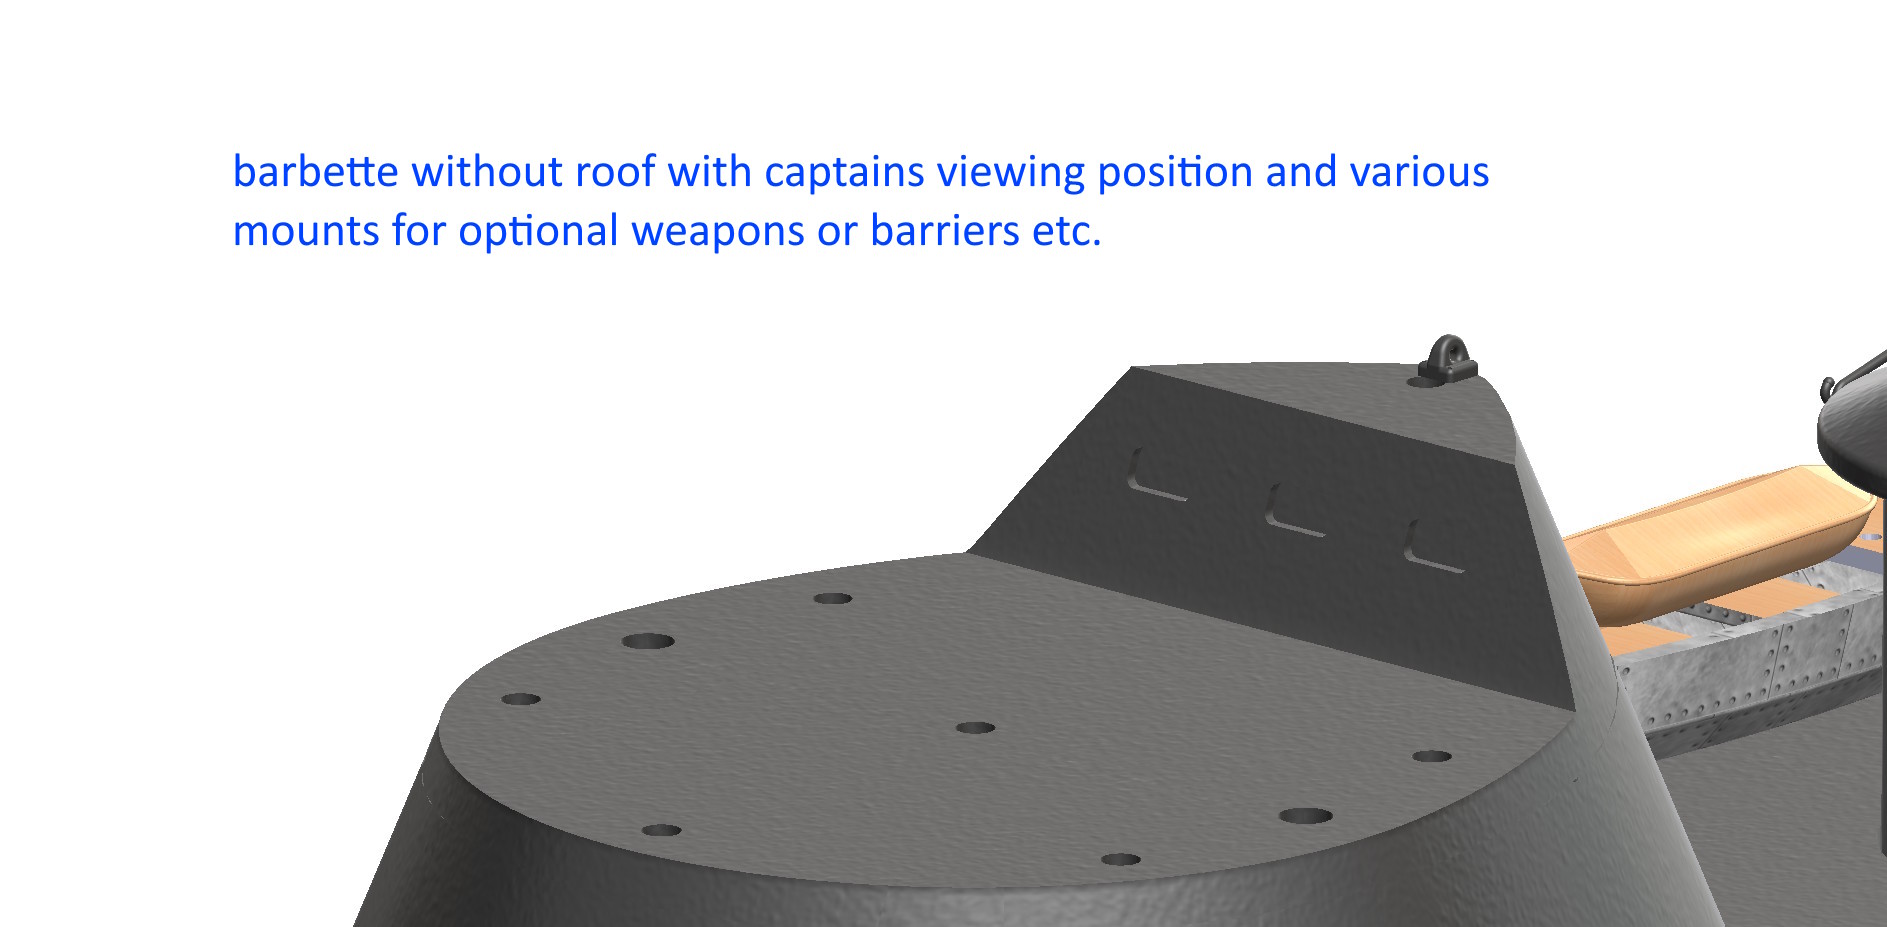
| Quick‑Access Barbets | Two interior hatches (covered by barbets) give you fast battery replacement, while a rear hood opens to the rudder mechanism. Separate front barbettes are also supplied. |
The result is a highly detailed, functional model that can serve as a display piece, a battle‑ready field ship, or a training platform for new RC operators.


From File to Finish – A Step‑by‑Step Printing Guide
Below is a concise workflow that takes you from the downloaded files straight to a fully assembled, operational Keokuk.
| Step | What to Do | Tips |
|---|---|---|
| 1. Download | Grab the ZIP archive from the website. Inside you’ll find 110+ STL files, the 3MF master, and exploded‑view renders. | Keep the folder organised; label each part (e.g., “hull‑1”, “turret‑A”). |
| 2. Prepare the Slicer | Open your favourite slicer (Cura, PrusaSlicer, or Simplify3D). Set the layer height to 0.2 mm for a balance of speed and detail, or 0.15 mm for extra polish. | If you’re using resin, set 0.05 mm for fine detail. |
| 3. Add Supports Only Where Needed | Most hull panels are self‑supporting. Add supports only for overhangs in the turrets or gun barrels. | Check the preview to avoid unnecessary supports that may damage the surface. |
| 4. Print | Start printing the hull and superstructure first. They are the most critical for structural integrity. | Use a heated bed (if available) to reduce warping. |
| 5. Assemble While the Glue Cures | While the first set of parts is still tacky, line up the mounting plates. Use the clips to hold pieces in place. | This keeps the build level and reduces the amount of adhesive needed later. |
| 6. Glue and Finish | Once the glue has set enough to hold the structure together, apply a small amount of super‑glue or cyanoacrylate along the seams. | A second set of clips can hold the parts steady during curing. |
| 7. Install Accessories | Attach turrets, guns, and interior panels. Use the included exploded‑view renders to line up each piece. | For RC setups, mount the radio‑control module under the upper deck lid before final sealing. |
| 8. Fit Propellers | Choose the historically accurate or RC‑optimised propeller. Attach using the supplied mounting screws or adhesive. | Make sure the propeller is centered to avoid wobble during operation. |
| 9. Test the Rudder Mechanism | If you’re building an RC model, run a quick test of the rudder by powering the system and checking for smooth movement. | Adjust the servo or hydraulic linkages as needed. |
| 10. Polish and Paint (Optional) | If you prefer a non‑colour build, paint the model with scale‑appropriate colours. 3‑M layer or metallic paints are excellent choices. | For a full‑colour build, skip this step; the 3MF file already contains all the paint data. |


Versatility at Its Best
Because every part is modular, the Keokuk can evolve over time. Add new weapons, change the deck layout, or swap the propeller for a higher‑performance variant. The RC‑ready deck and quick‑access hatches make it an ideal platform for training new pilots or for use in miniature naval battles. Even collectors who prefer static displays will appreciate the realistic detail and robust construction.
The USS Keokuk 1:48 model pack is more than just a printable ship—it’s a bridge between history and modern hobbyist technology. Whether you’re an experienced modeler looking for a new challenge, an RC enthusiast wanting a realistic warship platform, or a history buff eager to bring the Civil War’s ironclads to life, this pack delivers on quality, detail, and flexibility. Dive in, assemble the hull, slide on the turrets, and let the USS Keokuk sail—or fly—into your next project.
Visit our purchase page on Cults3D. <<<—– Click